Keto Rhubarb Dream Pie Recipe
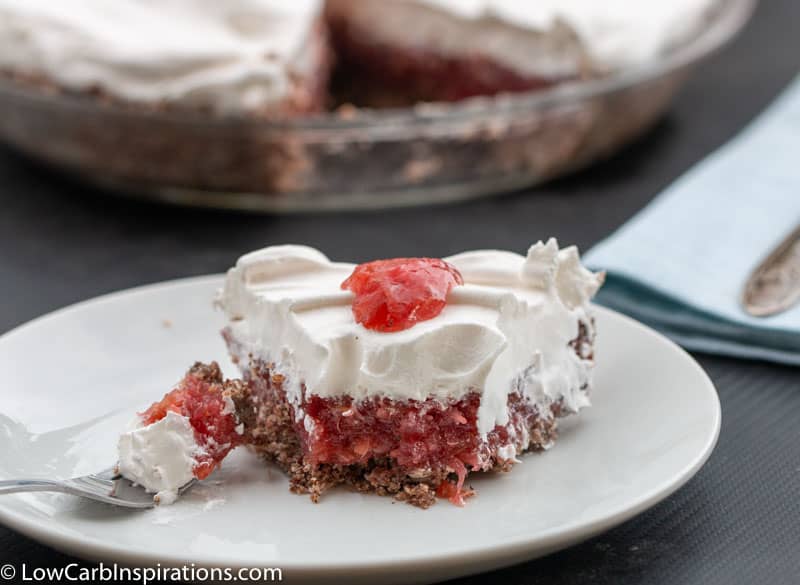
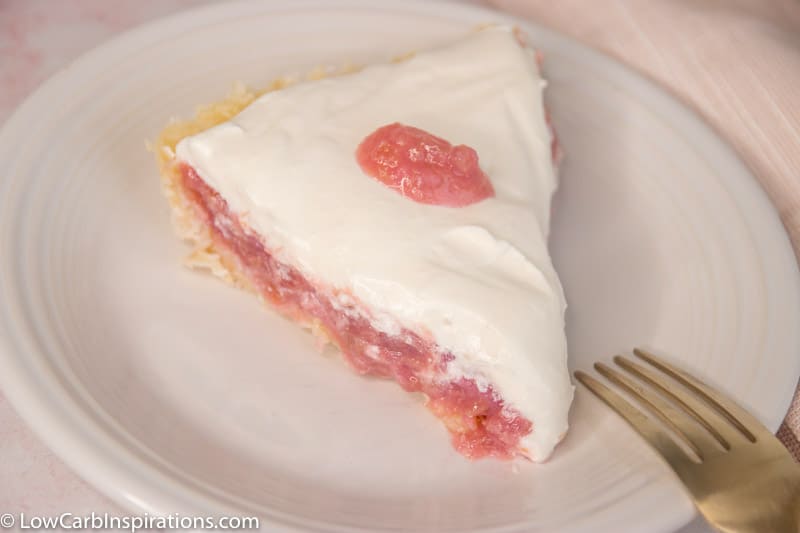
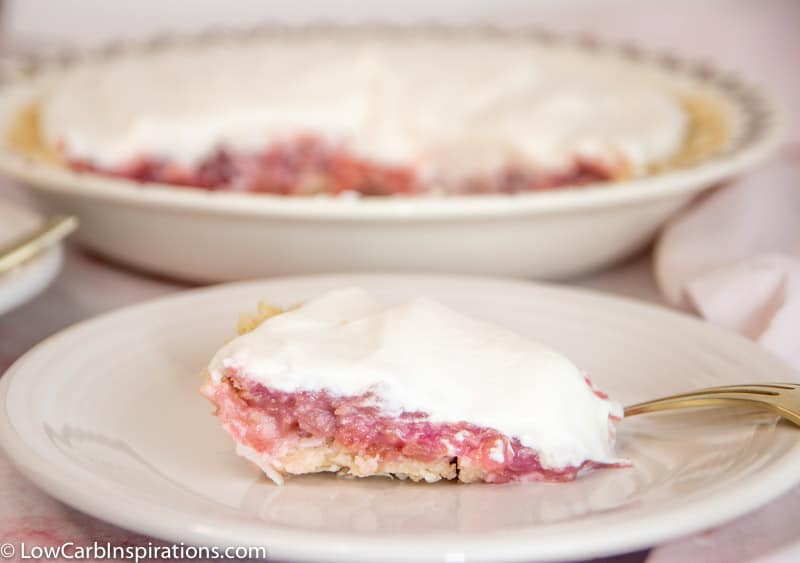
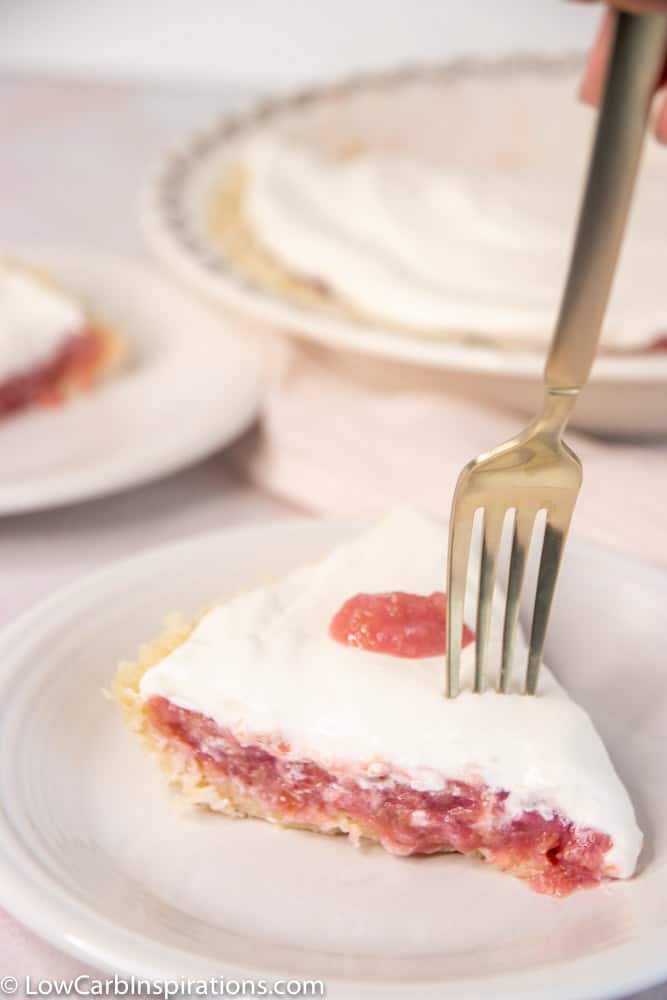
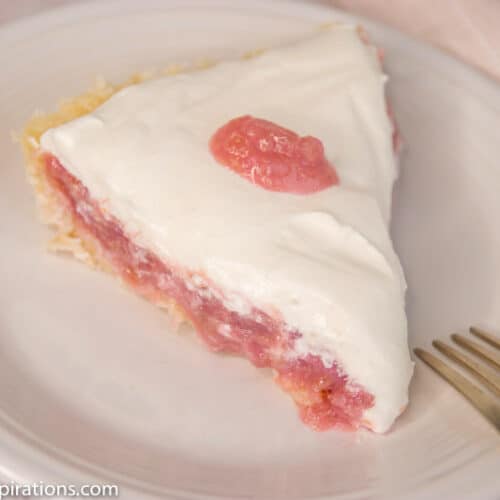
We just made a delightful Keto Rhubarb Dream Pie Recipe!! I remember back before my keto days I used to enjoy a chocolate dream pie recipe that was made with dream whip or cool whip, do you remember? This recipe reminds me of dream pie but this is a sugar free rhubarb dream pie version and we love it! I bet you will love it too!
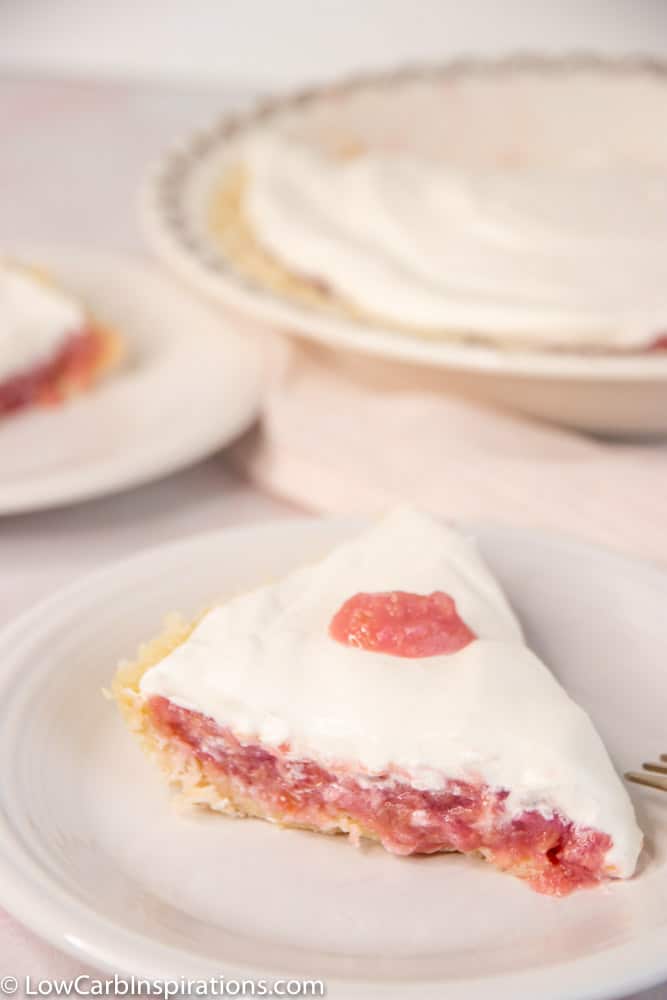
This recipe doesn’t require you to use the oven either! This recipe is a spin off of our Keto Rhubarb sauce recipe! We made so much of that sauce that we had tons of leftovers. Rhubarb is in season and I can’t get enough! I love it so much. We made two batches of the keto rhubarb sauce. That recipe is super easy to double or triple if needed. We added some Knox unflavored gelatin to it to make sure it holds up in this pie too!
This keto pie recipe is made with Rhubarb sauce and we love it! Here’s the recipe for the sauce by itself: Keto Rhubarb Sauce Recipe
Keto Rhubarb Dream Pie Recipe Ingredients
Filling
- 3 cups rhubarb, diced
- 2 tbs lemon juice
- 1 cup allulose
- 3/4 cup water
- 2 tbs Knox gelatin, unflavored
Crust
- 1 cup nut flour (we used pecan flour but you can use any nut flour you choose)
- 1 cup unsweetened coconut flakes
- 10 drops liquid monk fruit
- 1/3 cup butter, melted
Whipped topping (dairy version)
Whipped topping (non-dairy version)
- 1 can (13.66 oz) coconut cream, unsweetened. (we love this brand found on Amazon)
- 3 tbs allulose
- 1 tsp vanilla extract
Sweetness in this recipe will depend on your taste buds and the tartness of the rhubard. We prefer a sweet version for this pie recipe.
- 1/2 cup allulose = tart
- 3/4 cup allulose = semi-sweet
- 1 cup allulose = sweet
Feel free to use any keto sweetener you want but be sure to taste the sweetness and start off adding a lower amount till you get to the sweetness you enjoy.
Our favorite ingredients for this recipe can be found on Amazon:
Keto Rhubarb Dream Pie Recipe Instructions
Only 4 net carbs PER SLICE!!! (Nutrition information below)
Place a round piece of parchment paper on the bottom of the pie pan to make it easier to remove the slices of dream pie.
All of the full instructions are listed in the printable recipe card at the very bottom of this post.
Make the Pie filling.
Make the Pie Crust.
Make the whipped topping.
Assemble the Keto Rhubarb Dream Pie
- Remove the pie crust from the refrigerator.
- Pour the filing on to the pie crust and spread it evenly.
- Pour the whipped topping on top of the rhubarb filling.
Put the dream pie back in the refrigerator until you are ready to serve it. You can also place it in the freezer for about 30 minutes to allow all of the ingredients to fully set together. Doing this makes it really easy to cut beautiful pieces of pie!
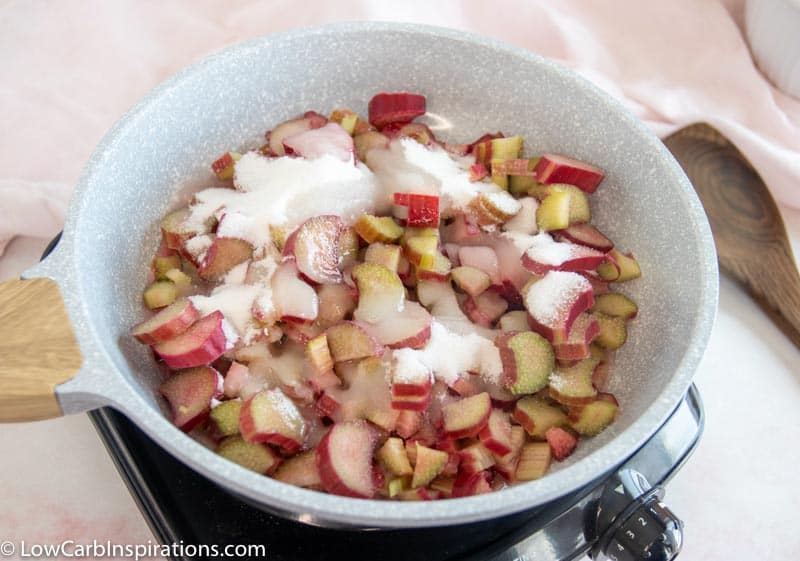
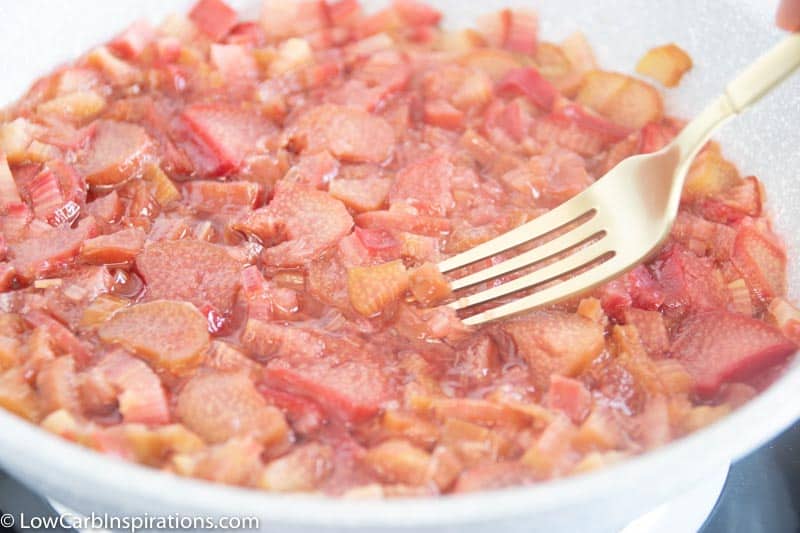
Here are some photos we took while making this delicious treat!

Be sure to pin this for later!
Keto Rhubarb Dream Pie Recipe
Equipment
- Stand Mixer
- 8 inch pie pan
Ingredients
Filling:
- 3 cups rhubarb diced
- 2 tbs lemon juice
- 1 cup allulose
- 3/4 cup water
- 2 tbs Knox gelatin unflavored
Crust
- 1 cup nut flour we used pecan flour but you can use any nut flour you choose
- 1 cup unsweetened coconut flakes
- 10 drops liquid monkfruit
- 1/3 cup butter melted
Whipped topping (dairy version)
- 1 cup heavy whipping cream
- 3 tbs allulose our your favorite keto sweetener
- 1 tsp vanilla extract
Whipped topping (non-dairy version)
- 1 can 13.66 oz coconut cream, unsweetened
- 3 tbs allulose
- 1 tsp vanilla extract
Instructions
- Place a round piece of parchment paper on the bottom of the pie pan to make it easier to remove the slices of dream pie.
Make the Pie filling:
- Cut off the top and bottom parts of the rhubarb stalk. Dice the rhubarb into 1/2 inch cubes. If the outer layer is too tough, you can peel that off and discard it.
- Use a large frying pan over medium heat, add the rhubarb, lemon juice, allulose, and only 1/4 cup of water. Reserve the other 1/2 cup of water for the gelatin instructions.
- Cook it until it starts to steam and then reduce the heat to a simmer.
- Stir the rhubarb to combine all the ingredients.
- After about 10 minutes the rhubarb will start to soften. You should be tender enough to smash with with a fork.
- Take a small spoonful and cool it down. Taste a small amount of the sauce to make sure it is at the sweetness you prefer. Be careful because it's really hot!
- Add more sweetener if needed. Using a spoon mix the sweetener in until it's fully incorporated.
- The texture if the sauce will depend on how you like it also. If you prefer a chunky texture, you can leave it as is when it's done cooking.
- If you prefer a smooth sauce, I would allow the sauce to cool slightly and add it to a blender.
- Blend the rhubarb sauce on high for 30 seconds.
- In a small bowl add 1/4 cup of cold water. Add the unflavored gelatin to the cold water mixture and allow it to sit for 1 to 2 minutes. Heat the remaining 1/2 cup liquid in the microwave for about 30 seconds until hot. Pour the hot liquid into the cold gelatin mixture and mix it up. This will dissolve any clumps left in the bowl if there were any.
- Pour the gelatin mixture into the rhubarb and mix it until it's fully combined.
- Pour the rhubarb mixture into a glass container and refrigerate it for about 2 to 3 hours until it sets.
Make the Pie Crust:
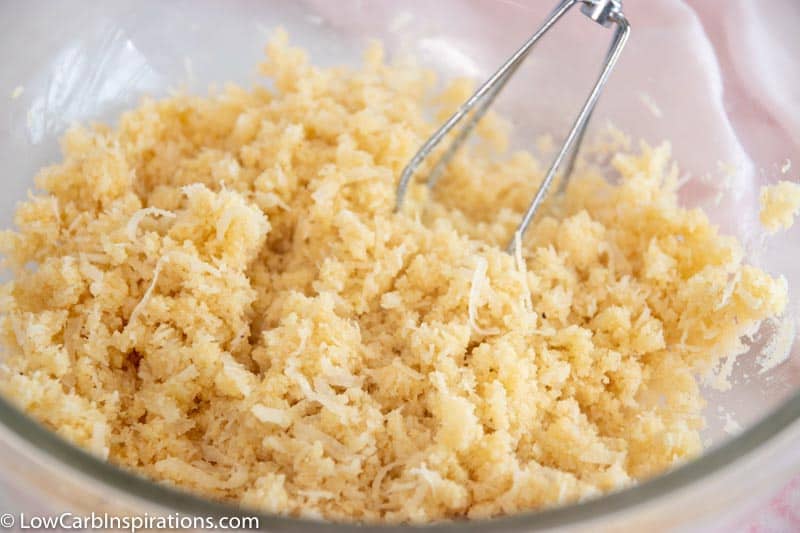
- In a medium bowl, combine the nut flour and coconut flakes. Mix until fully combined.
- In a microwave safe bowl, melt the butter for about 20 to 30 seconds or until melted.
- Add the liquid monkfruit drops to the butter mixture.
- Pour the melted butter on the nut flour mixture and mix it until it's fully combined.
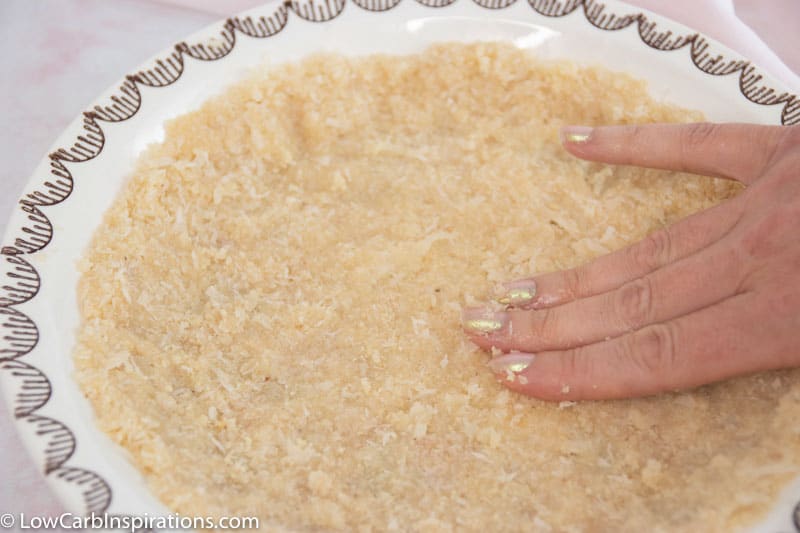
- Press the nut flour mixture into your pie pan covering the bottom and the edges.
- Place the nut flour pie pan in the refrigerator until the rhubarb filling has set.
Make the whipped topping:
- Dairy Version: Using a stand mixer, add all of the ingredients to the mixing bowl and beat the whipped cream on high until it reaches soft peaks. Chill until you are ready to use it.
- Non-Dairy Version: Open the can of unsweetened coconut cream. Remove and use the solid coconut solution only. Using a stand mixer, add all of the ingredients to the mixing bowl and beat the whipped cream on high until it reaches soft peaks. Chill until you are ready to use it. The non dairy version won't be as stiff as the dairy version but it still tastes amazing!
- Or you can use the store bought sugar free whipped cream but it might have ingredients in it that are considered not to be fully keto.
Assemble the Keto Rhubarb Dream Pie
- Remove the pie crust from the refrigerator.
- Pour the filing on to the pie crust and spread it evenly.
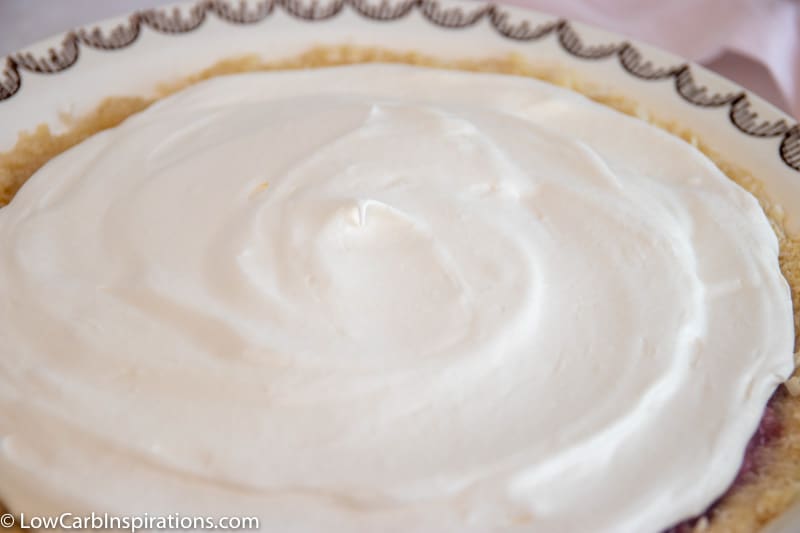
- Pour the whipped topping on top of the rhubarb filling.
- Put the dream pie back in the refrigerator until you are ready to serve it. You can also place it in the freezer for about 30 minutes to allow all of the ingredients to fully set together. Doing this makes it really easy to cut beautiful pieces of pie!

