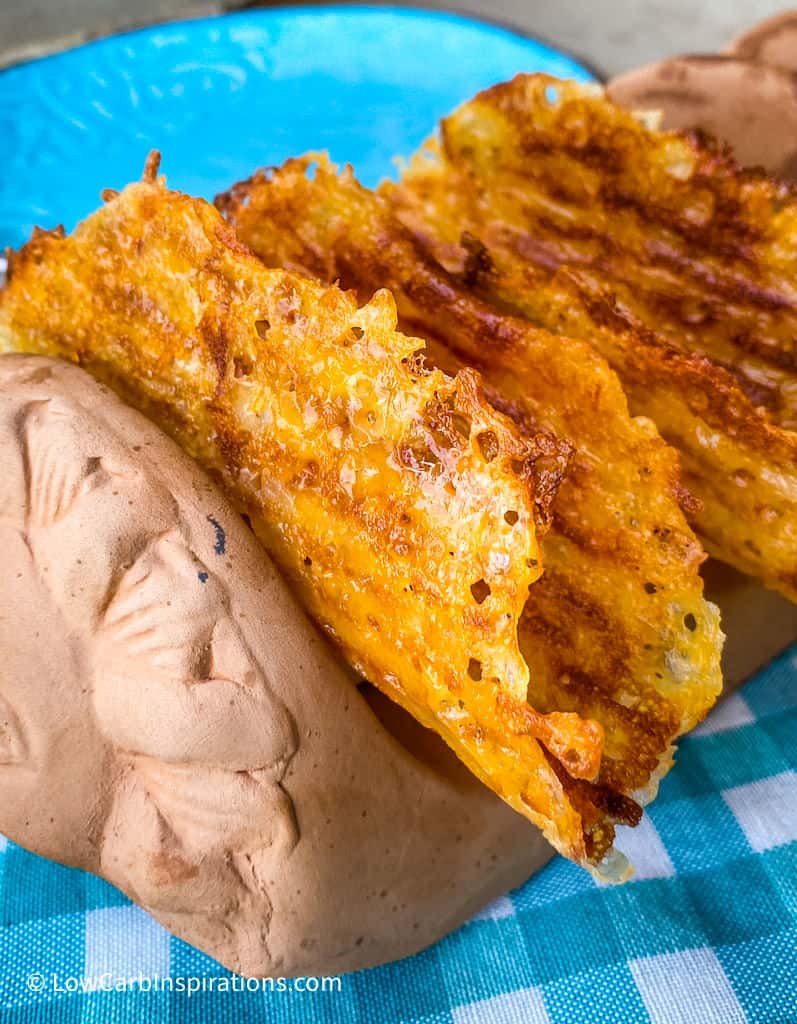
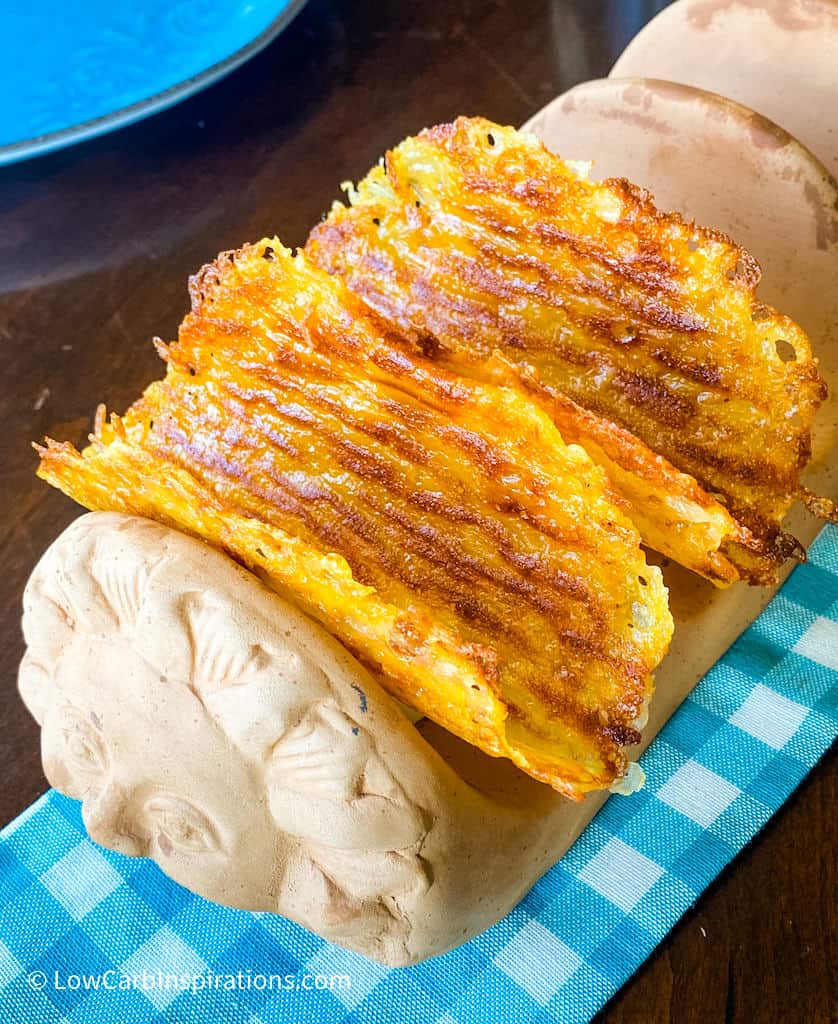
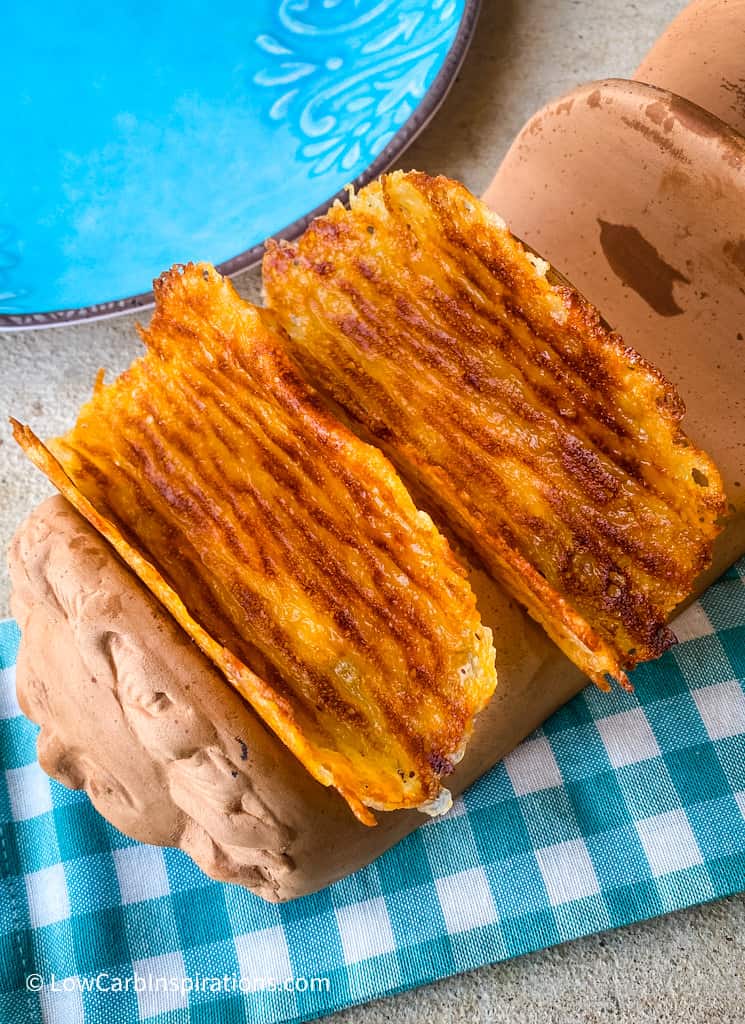
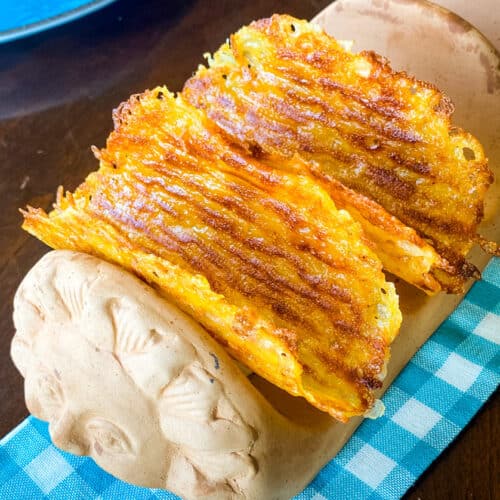
Cheese Taco Shells made on the Blackstone Griddle Grill
We just made Cheese Taco Shells made on the Blackstone Griddle Grill!! I have a “no fail” technique for you!!
The reason we make cheese shells is because it’s low carb and keto friendly. There are very little carbs in cheese so it makes the perfect taco shell replacement on the keto diet.
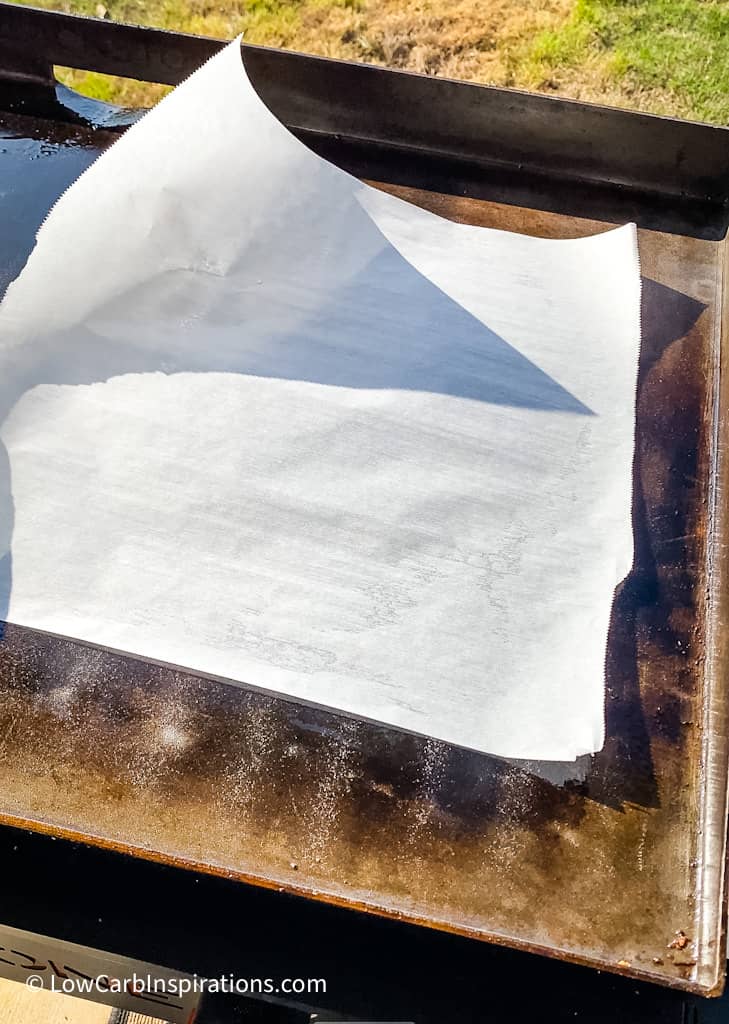
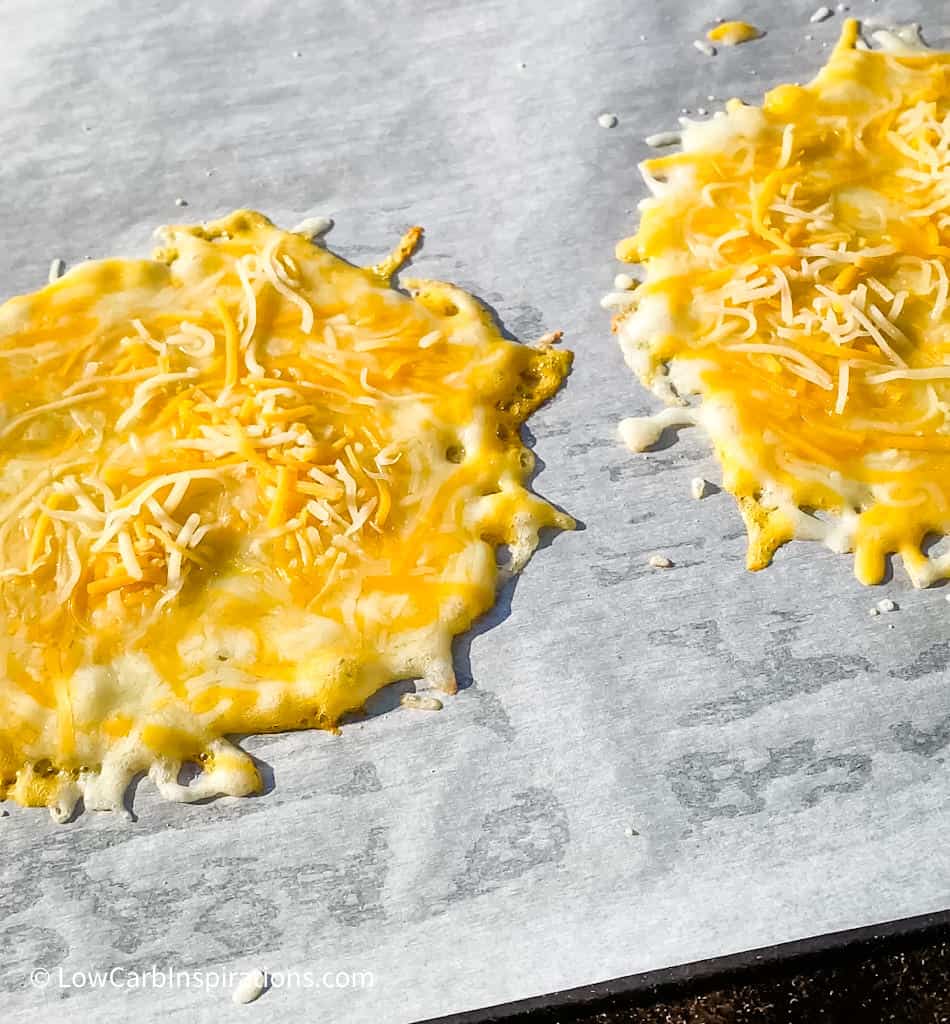
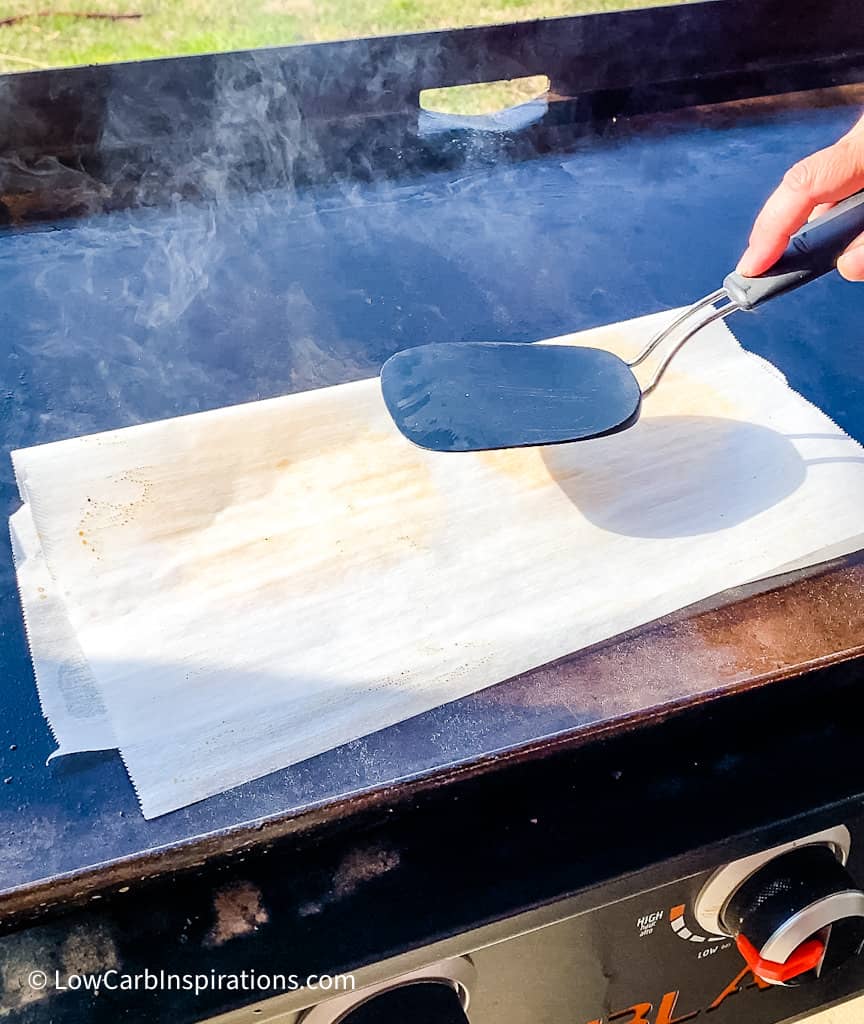
The trick to the best cheese tacos that are keto friendly and made on the griddle is to use parchment paper! If you ever cooked any type of cheese on the griddle you know it’s tricky. You just never know if the cheese will stick or not even if the grill is seasoned.
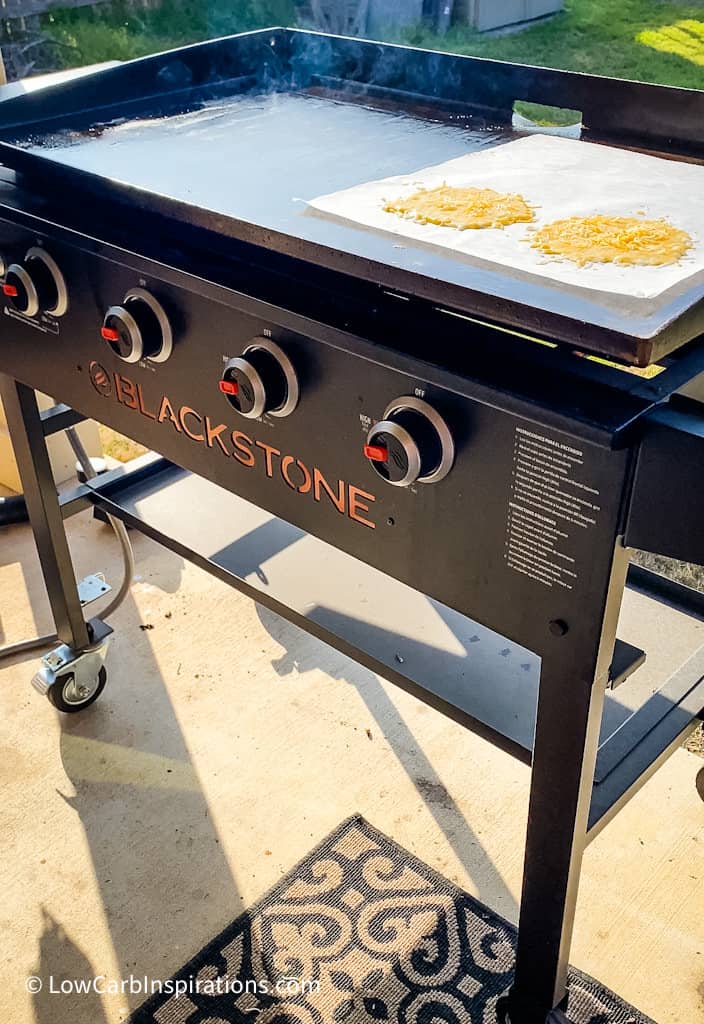
Blackstone Griddle Grills on Amazon
I own two different types of Blackstone Griddle grills. One I keep out in my RV for camping. This is the compact version that can easily fold down and come apart for compact storage which is important for small spaces such as camping or in the RV storage.
My other in my 36″ Blackstone Griddle Grill.
I love them both but for different reasons.
I have a family of four so the compact version is perfect when we are camping or at our RV site! I can cook for a family of four on that size grill with no issues whatsoever. I would want it any smaller than that though. I can easily cook egg roll in a bowl on the griddle grill all at once for all of us. I even think it cooks quicker too because the heat is closer together.
I also really like my 36″ Blackstone Griddle grill because it’s big enough to make these cheese tacos shells or prep a lot of recipes for the week. It’s a really big cooking space! Did you see the Keto Philly Cheesesteaks or the Keto Fried Cauliflower Rice I made on it the other day? Amazing recipes that are easy on the griddle!
Watch the TikTok Video showing How we Make these Keto Taco Shells
@ketofriendlyrecipesKeto Cheese Taco Shell – no fail technique! ##ketorecipes ##cheesetacoshell ##blackstonegriddlecooking ##ketotaco ##ketotacoshells♬ original sound – ❤️Jennifer Marie❤️
Types of Cheese You Can Use to Make These Taco Shells
You can use almost any cheese that comes in a slice form. I would stay away from cheese options such as feta, cottage cheese, Ricotta, Mascarpone, or cream cheese though. These are not cheeses you should fry like this.
My favorite cheese to use to make the keto cheese shells are:
- Cheddar
- Colby Jack
- Mozzarella
- Pepper Jack
- Gouda
- Havarti
- Jarlsberg
That’s a list of my favorite cheeses to grill but that is not a complete list. Experiment with your favorite cheese!
There is one other cheese that I grill called Queso Fresco but I don’t fry it to make taco shells. Instead, I cut it in cheese stick shapes and make grilled cheesesticks that I dip in marinara sauce. They are absolutely delicious and no crust is needed. You can see the Fried Cheese Sticks here: https://www.isavea2z.com/keto-fried-cheese-options/
Can you Make Cheese Shells in a Frying Pan on the Stovetop?
Yes! Absolutely, you can! You can use the same technique too! They do make different sizes of precut parchment paper. I’ve purchased round pieces of parchment paper for my cake pans.
No need to buy Folios Cheese Wraps anymore because this is how you make your own for a fraction of the cost! We learned this when we microwaved cheese slices as seen in this recipe: Homemade Cheese Wraps Recipe
Will Parchment Paper Catch Fire When Using it on the Griddle Grill or in the Oven?
The burn point of Parchment Paper is 450 degrees Fahrenheit. Parchment paper will not burn until it reaches a temperature of 450 degrees. Now, you do need to know that it will burn if it’s exposed to an open flame. So just be sure the paper doesn’t reach that point.
I use parchment paper in a lot of my baking. I also use silicone mats with my keto baked goods so my ingredients don’t stick.
Parchment paper is very different from wax paper. Wax paper has a wax coating and it’s not the same thing. Be sure you are using parchment paper for cheese shells.
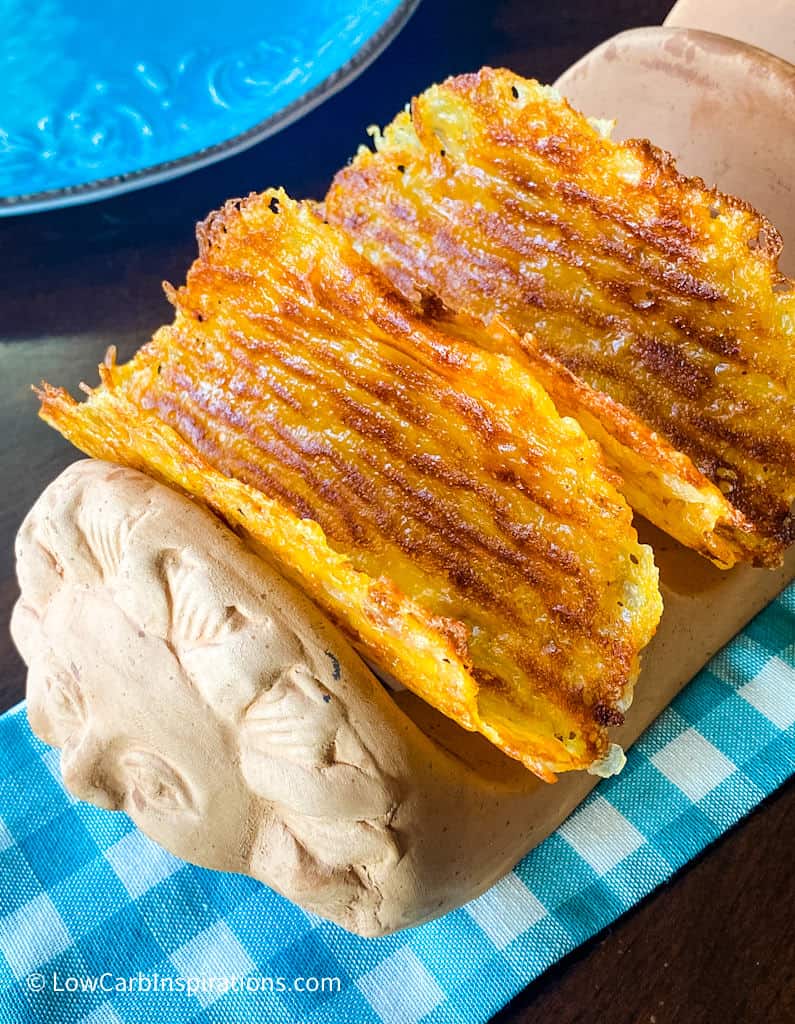
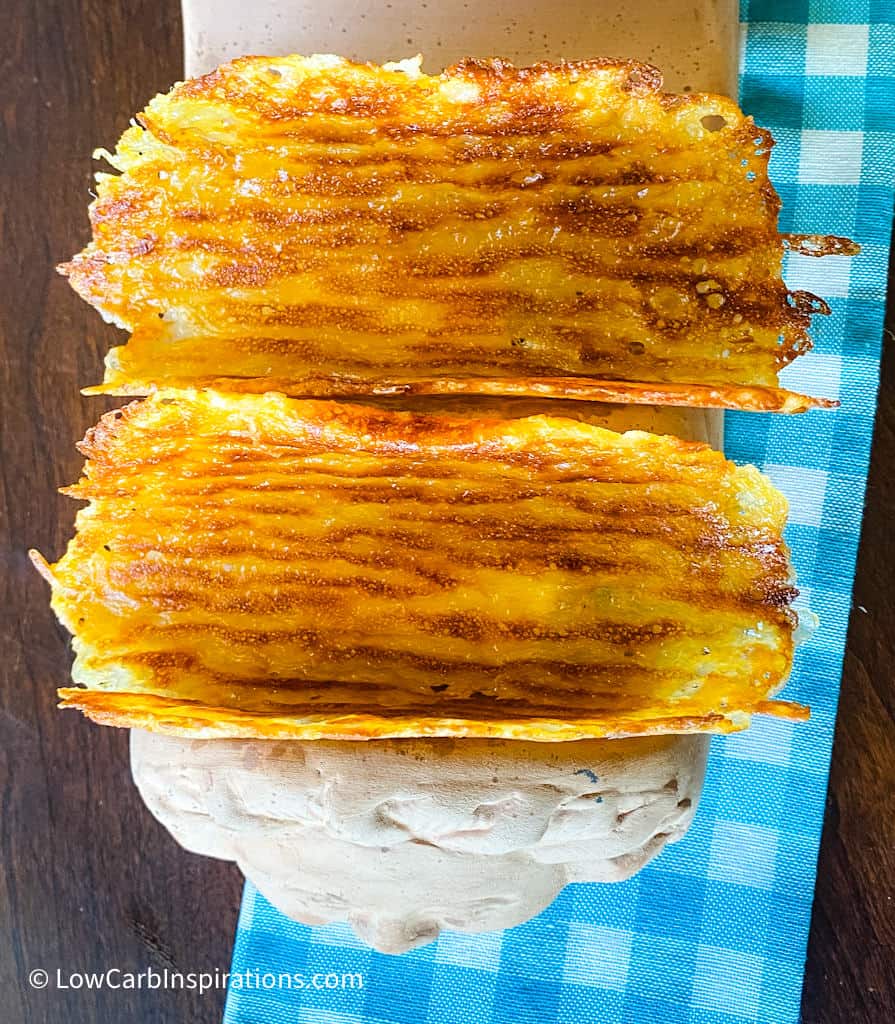
Are the Cheese Shells Crispy or Soft?
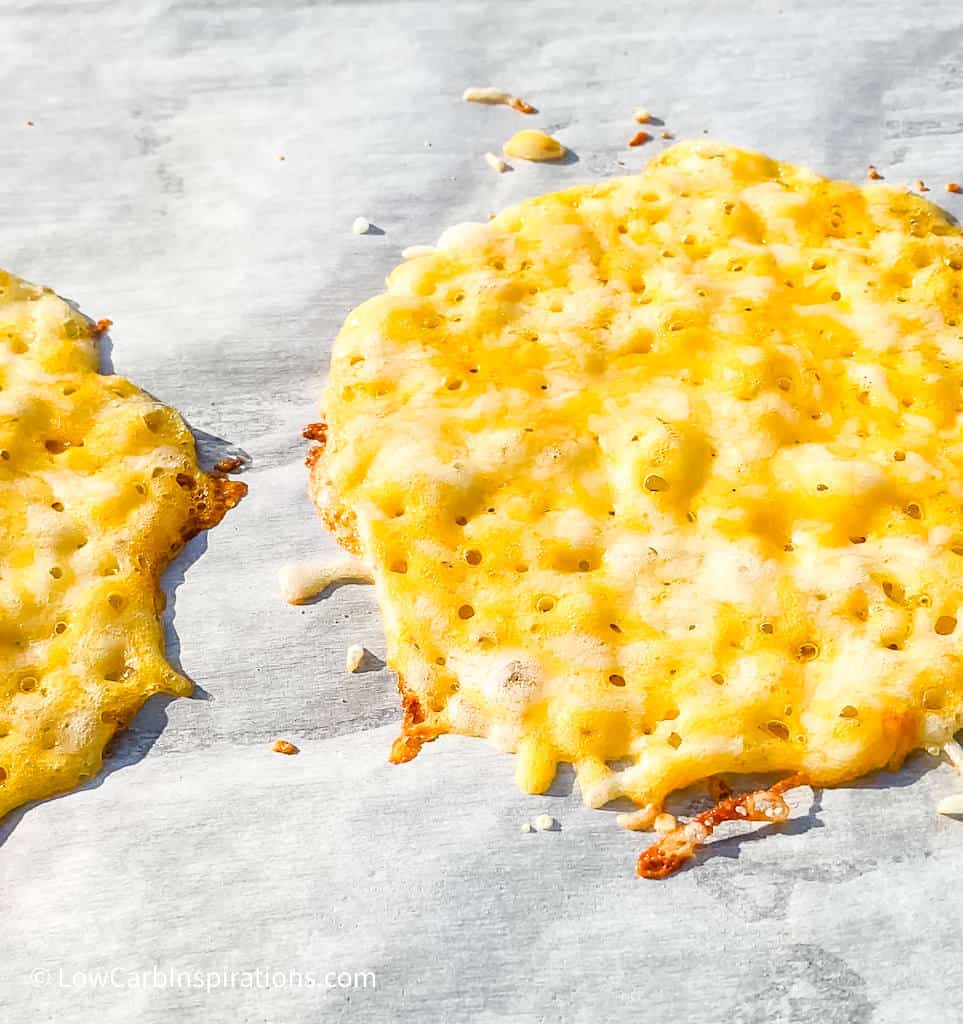
The amount of time you cook the cheese is going to depend on how crispy your taco is. The darker the cheese color when it’s cooked, the crispier it will be.
If you want a soft cheese shell, pull the cheese from the grill just after the cheese starts to bubble and is fully melted but hasn’t changed to a golden brown color yet. Don’t flip the cheese taco shell to cook both sides either. Just be sure to allow the cheese shell to cool long enough before using it too.
Keto Taco Shells Recipe Ingredients
- Slices of your favorite cheese or shredded cheese
- Parchment paper for a non stick surface
Equipment Needed
- Griddle or Frying Pan
Keto Taco Shells Recipe Instructions
You will find the full recipe instructions in the printable recipe card below.
Keto Taco Shells Recipe Nutrition
Serving 1 taco
Calories 176, Total C 1.3g, Fiber 0g, Net C 1.3g, Sugars 0.2g, Fat 14.5g, Protein 10g
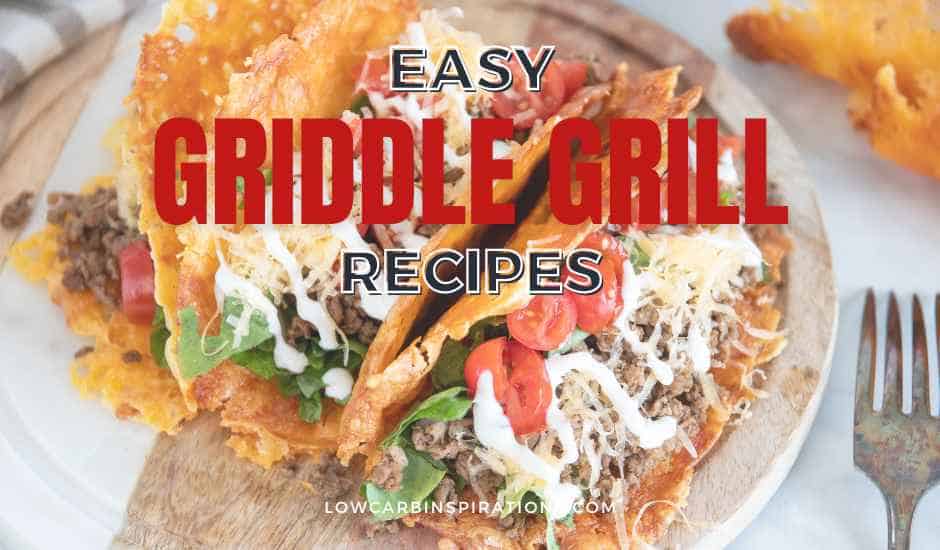
Looking for more amazing griddle grill recipes? You got it!!!!
Are you tired of the same old grill routine? Ready to kick things up a notch without the fuss? Say hello to Easy Griddle Grill Recipes – your shortcut to grilling greatness!
Some of our favorite recipes include:
- loaded fried rice
- lemon garlic shrimp skewers
- grilled asparagus with parmesan
- glazed garlic salmon
- and more!
Here are a few photos we took to show you exactly how we made our keto taco shells on the Blackstone griddle grill.
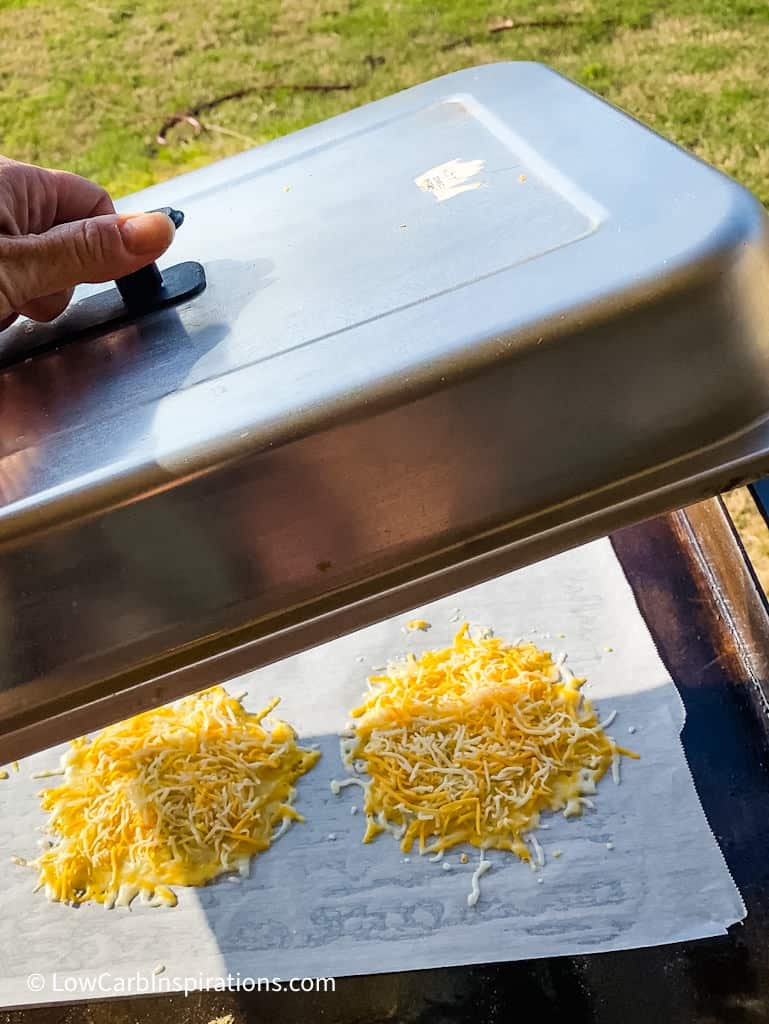
We used a cooking cover to help melt the cheese and cook eggs evenly but it’s not necessary.
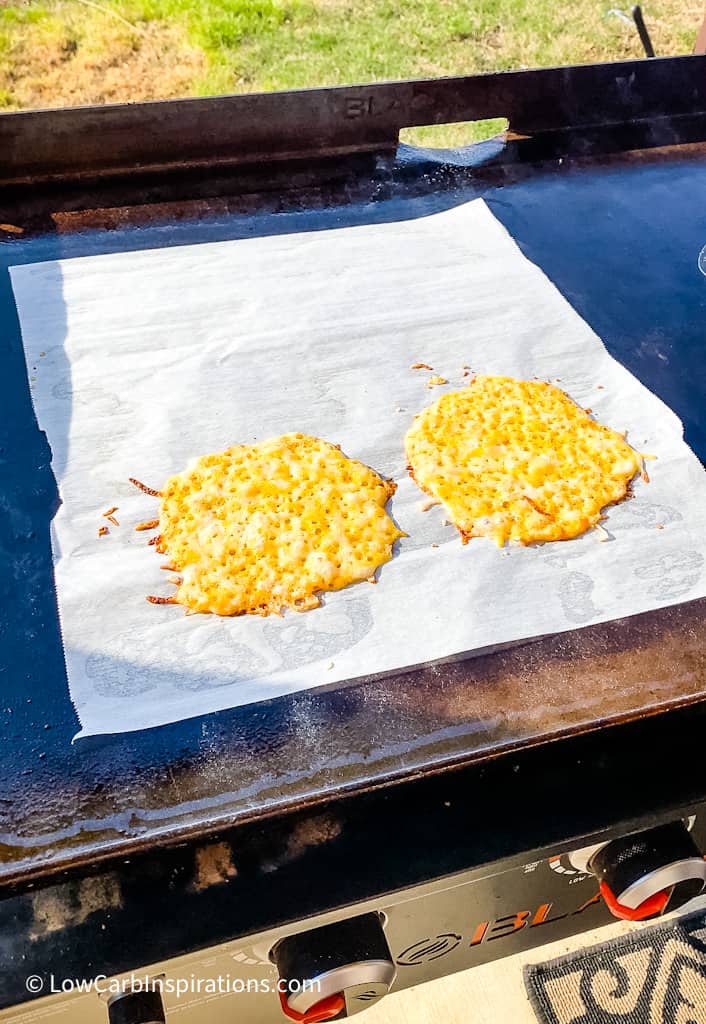
Flip them if you want crispier or tacos.

Keto Taco Shells Recipe
Equipment
- Parchment paper for a non stick surface
- Griddle or Frying Pan
Ingredients
- 1 Slice of cheese or 1/3 cup of shredded cheese
Instructions
- Preheat the griddle or frying pan over medium heat.
- Lay a slice of cheese or shredded cheese in a circle form layer with enough cheese not to see the bottom of the parchment paper.
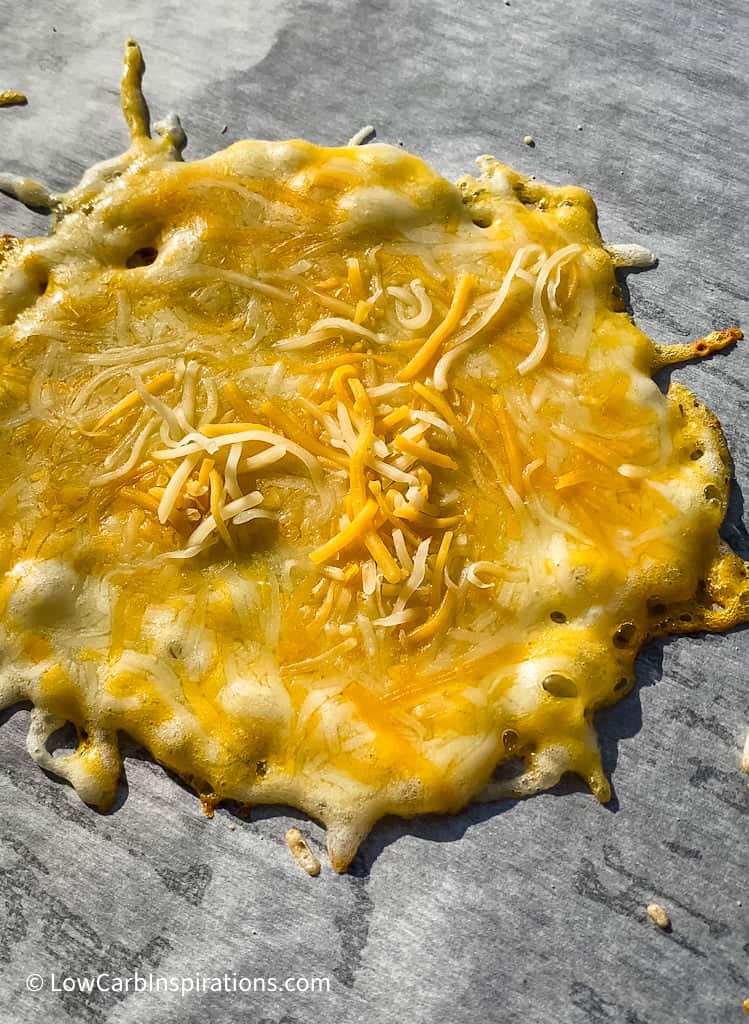
- Bake until the bottom forms a nice golden crust and the cheese has fully melted and is bubbling.
- To flip the cheese or not: You can flip the cheese to cook the other side. Just be sure you have enough room on the parchment paper to flip the cheese shell. It’s not require to flip the cheese for this technique to work.
- Soft cheese shell: Only cook the cheese long enough for it to be fully melted and bubbly without changing color then pull from the heat.
- Crispy cheese shell: Cook on both sides and allow the cheese to be fully melted and bubbling and then wait for the cheese to show a golden brown color.
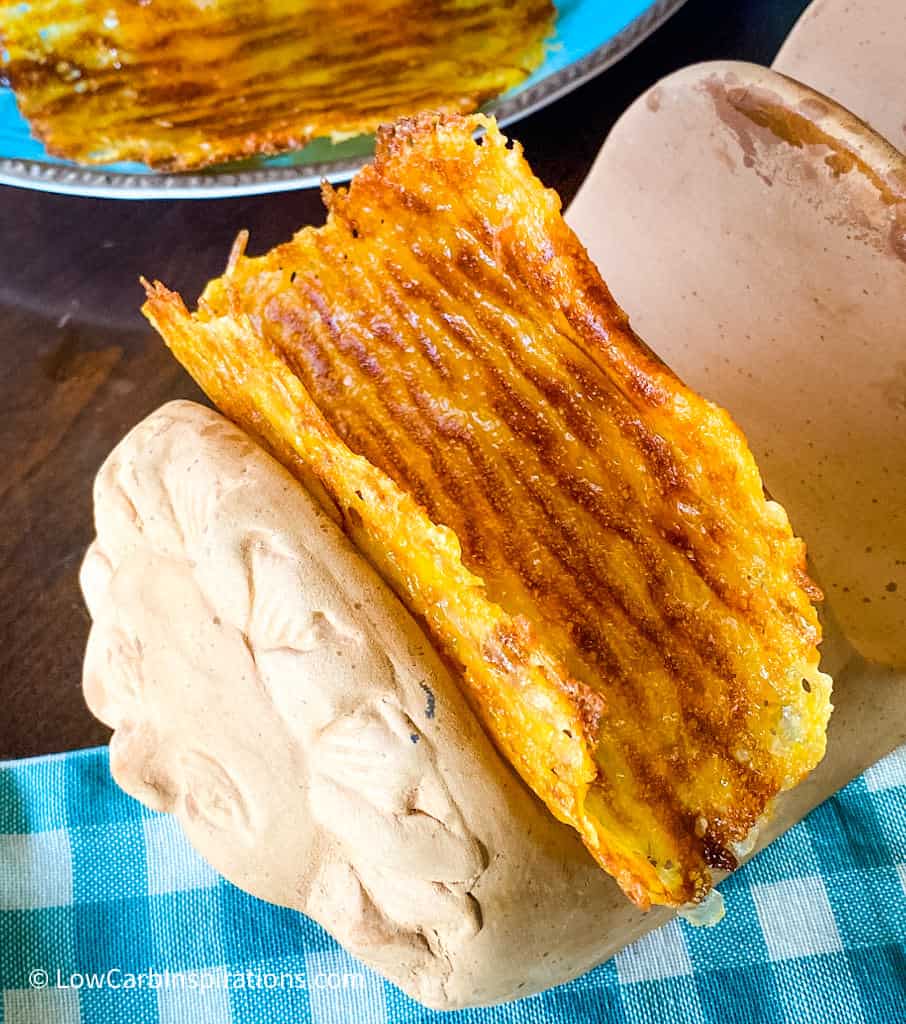
- Remove the shell from the heat and allow it to cool to a warm temperature before using the cheese taco shell. You can even grab the corners of the parchment paper and place the hot cheese shell into a taco holder so that it cools in the taco shape!
- You can store them for later use by placing a piece of parchment paper between each cheese taco shell and placing it in the refrigerator until you are ready to use it. It will keep for at least 5 days in the refrigerator. I have not tried freezing them yet.
- No need to buy Folios Cheese Wraps anymore because this is how you make your own! We learned this when we microwaved cheese slices as seen in this recipe: Homemade Cheese Wraps Recipe