Charcuterie Tree (step by step instructions)
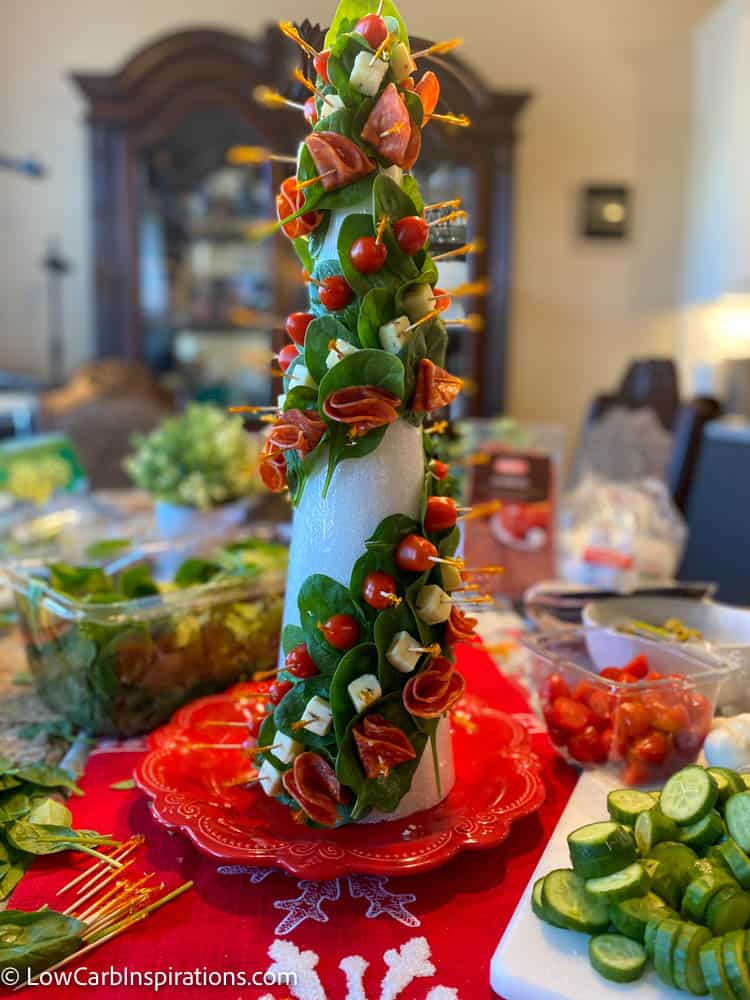
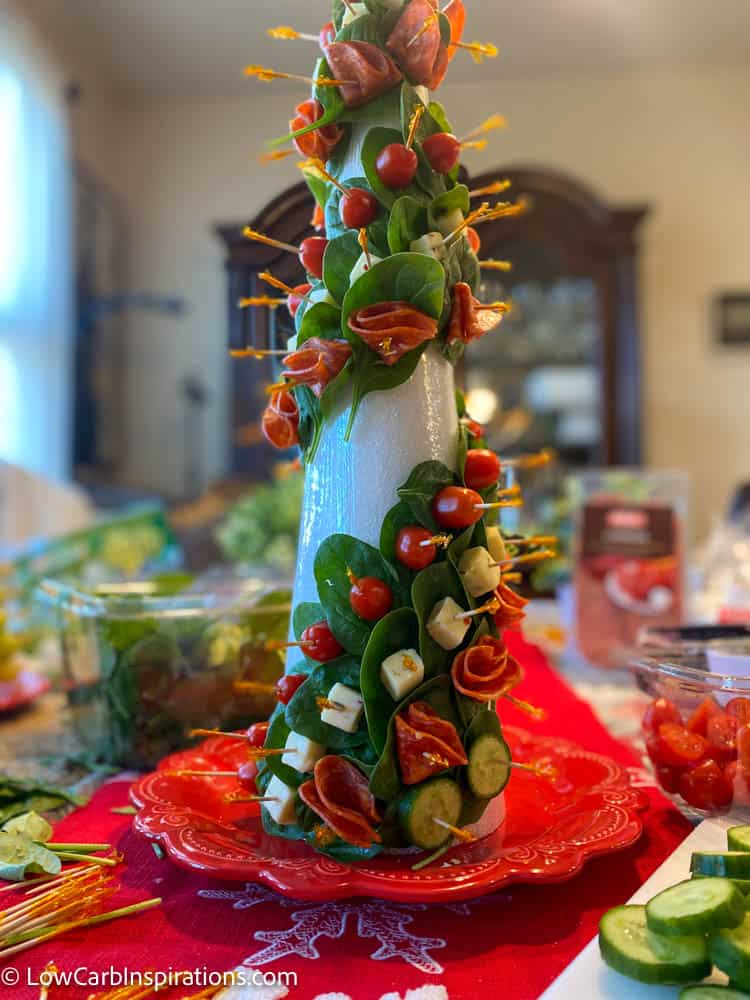
Check out this super cute Charcuterie Tree! It’s perfect for Christmas time and all of the items on the tree are low carb and edible! It’s just like a charcuterie board but displayed as a tree. It’s the perfect low carb Christmas centerpiece for your party!
I’m gonna show you just how easy it is to make this Charcuterie tree.
This project took me about 45 minutes to assemble once I had all the ingredients out on the table and ready to go. This is the perfect food display that you can make a day before your party. To make sure all the foods keep in the refrigerator, I would definitely wrap the tree with plastic wrap to keep all the ingredients fresh.
We also used a very pretty plate to display the tree on the table. We placed Christmas lights around the display too! Everyone loved it!
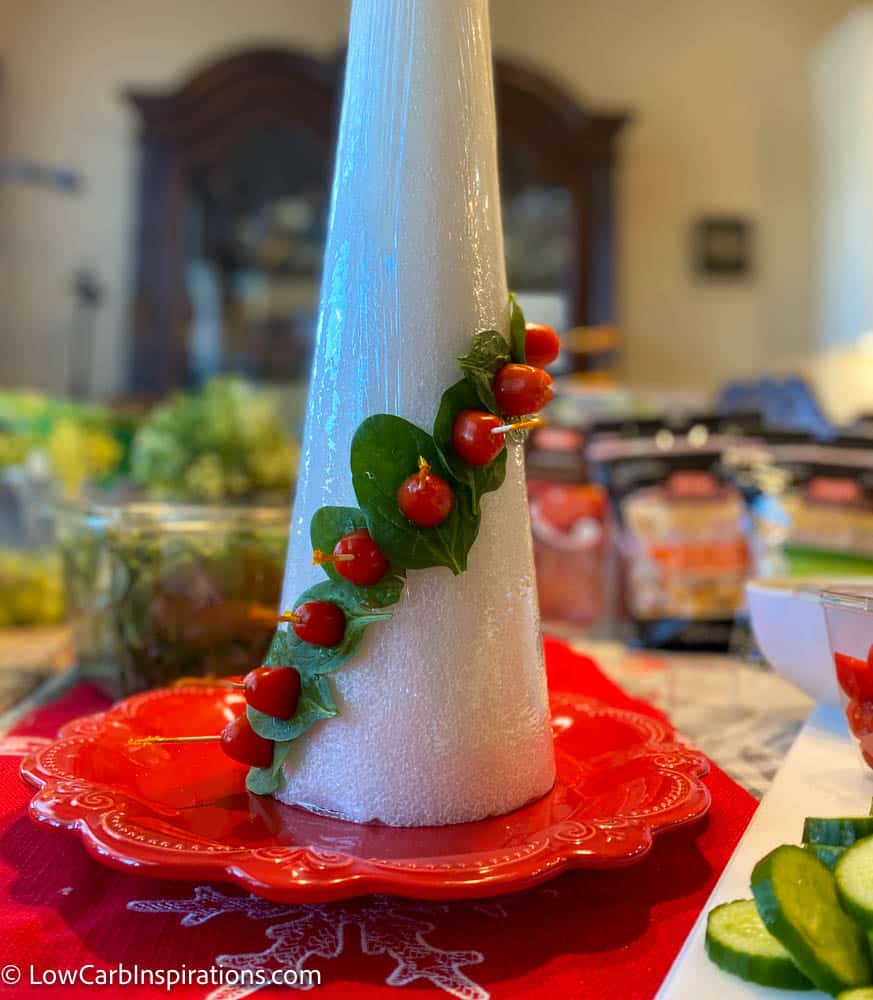
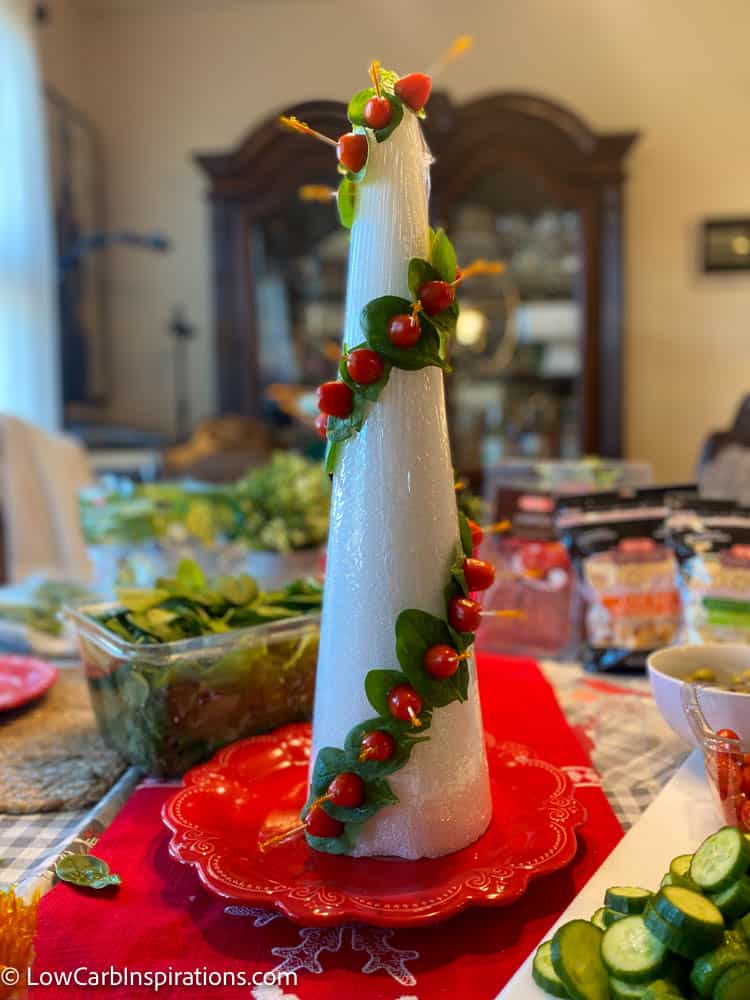
We used a full size plate for the large tree and a dessert plate for the small tree.
You can use just about any foods on this charcuterie tree that you would normally use on a board. Just make sure they are foods that will hold up with a toothpick. The toothpicks are nice because your guests can enjoy each bite by just taking the toothpick off the tree. No need for a serving utensil.
We also added a bit more fresh spinach to the bottom of the plate for more decoration. It turned out perfect! Way better than I ever imagined it would!
The styrofoam cones I found at Michael’s craft store. I’m certain you will be able to find them at any of your local craft stores to be honest. Just look in the styrofoam section where they keep all of the flower assembling supplies near the frames.

Here’s how I make the Charcuterie Tree:
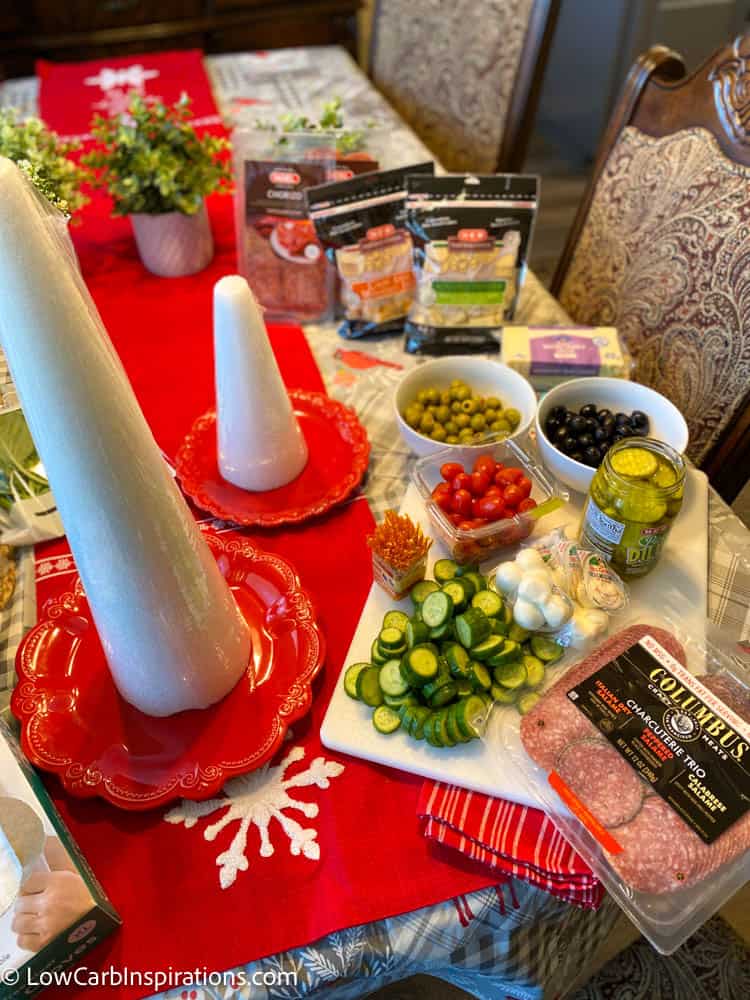
Charcuterie Tree Ingredients:
- Fresh spinach
- English cucumbers (they are crunchy and have less water which make them perfect for this project)
- Cherry tomatoes
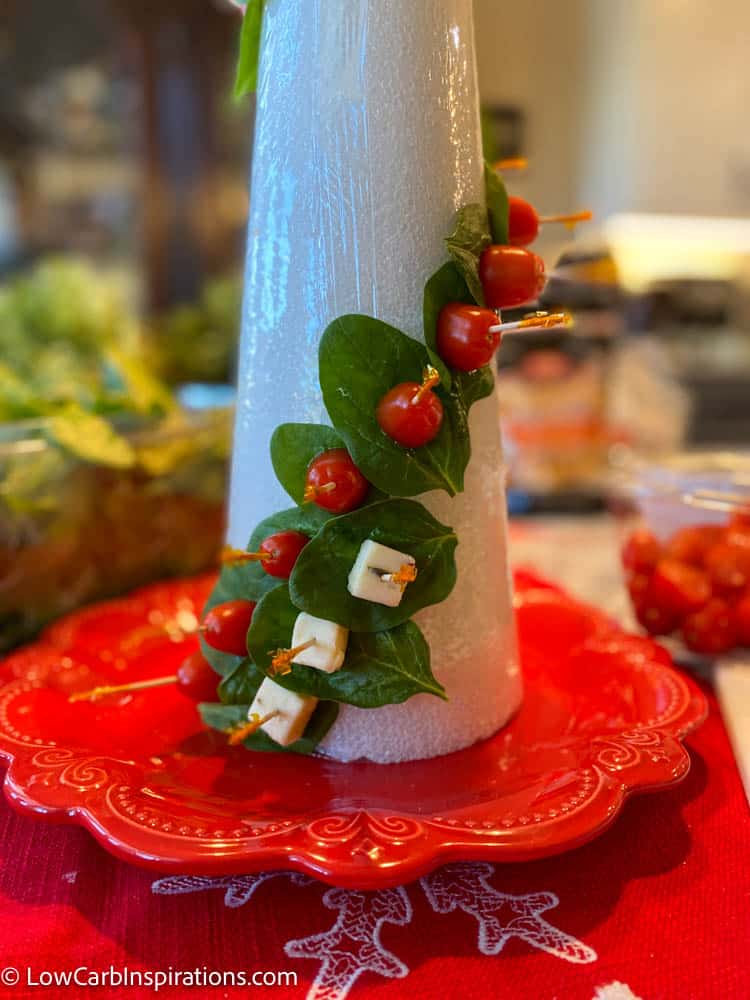
- Pepper Jack Cheese Cubes
- Colby Jack Cheese Cubes
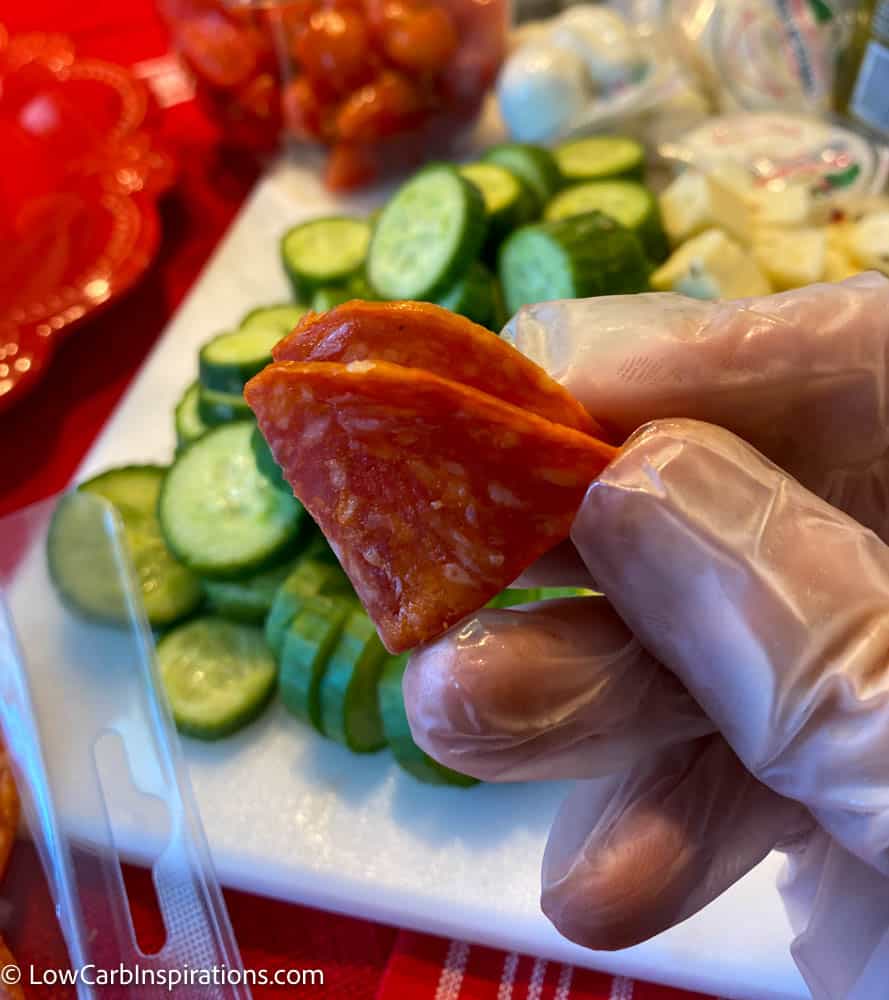
- Chorizo and Salami Slices
- Black olives and green olives
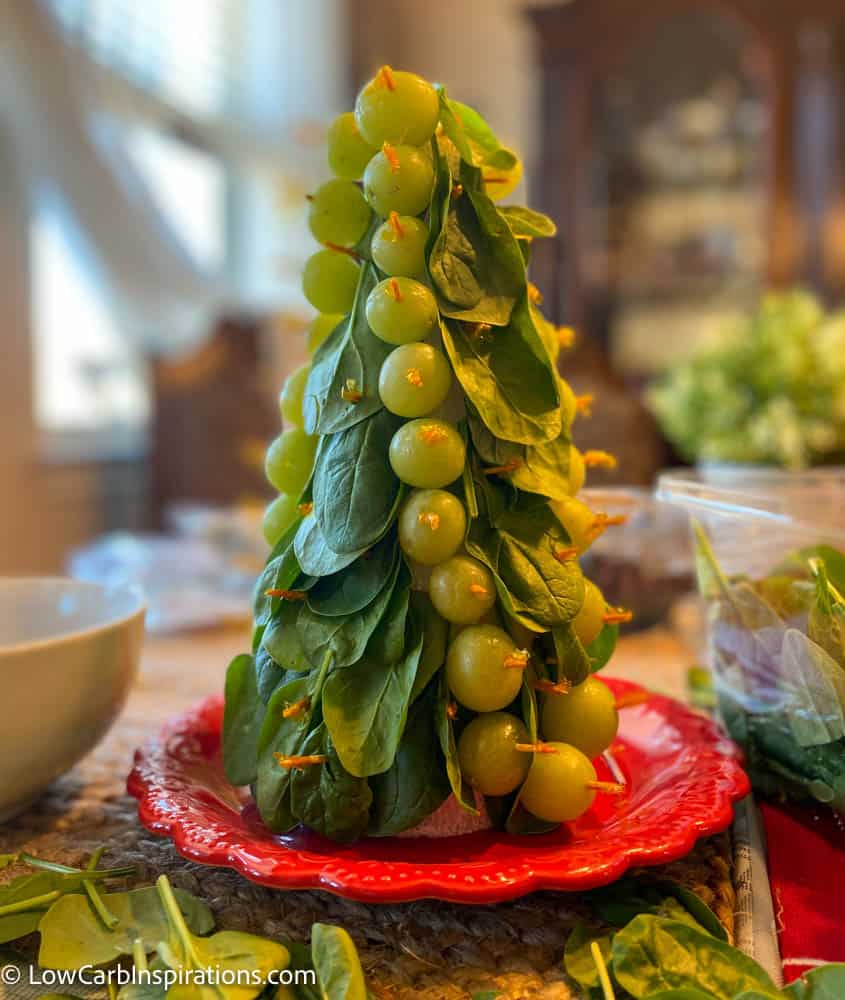
- Seedless grapes
- Blueberries (feel free to use any of your favorite berries)
- 1 large styrofoam cone (just like this one found here on Amazon)
- 1 small cone
- 1 large block of cheese for the star on the top of the Christmas tree
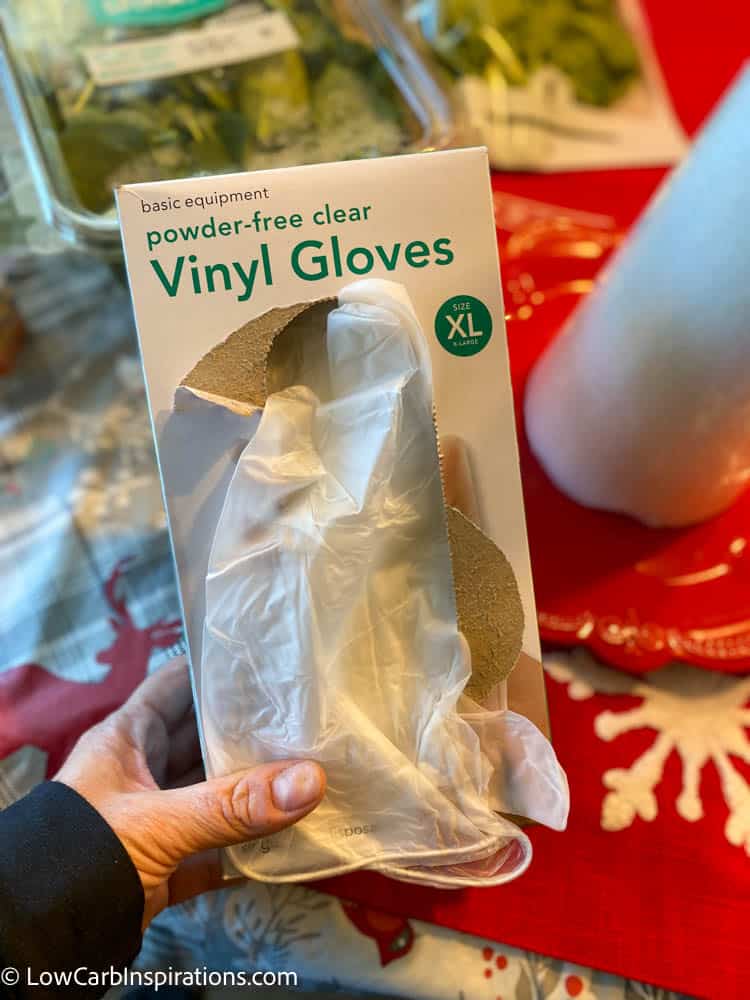
- Hand gloves
- Decorative plate
- Toothpicks
- Plastic Wrap
I actually bought way more ingredients than I needed. This is why you see a lot more food in the photos. You can place the food closer together and use less spinach if you really want to load your tree with a lot of ingredients. This can get expensive too so adding the spinach really does help to lower the amount of ingredients which lowers the cost. The amount of food on your tree will depend on how many people you have at your party too.
How to assemble the Charcuterie Tree:
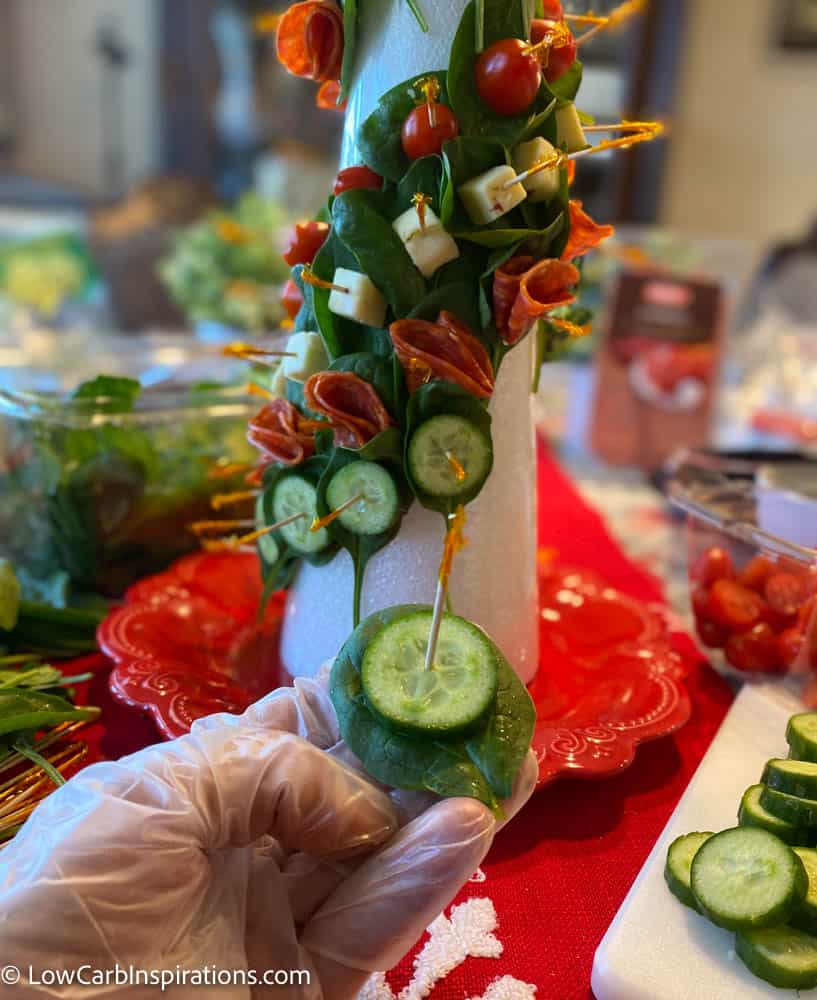
Start by washing and patting dry all of your produce.
Drain the juice from the olives.
Cut the cheese into cubes.
Slice the cucumber.
Place all of your produce on a tray that you can easily grab from.
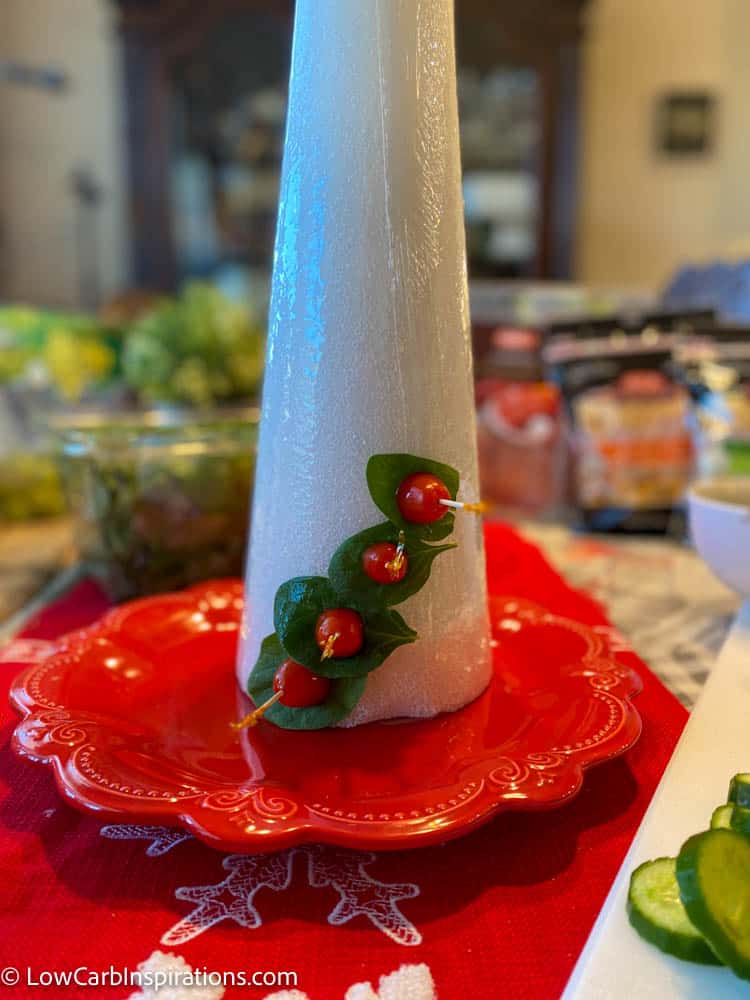
Wrap the styrofoam cone in plastic wrap. This way the food won’t touch the cone.
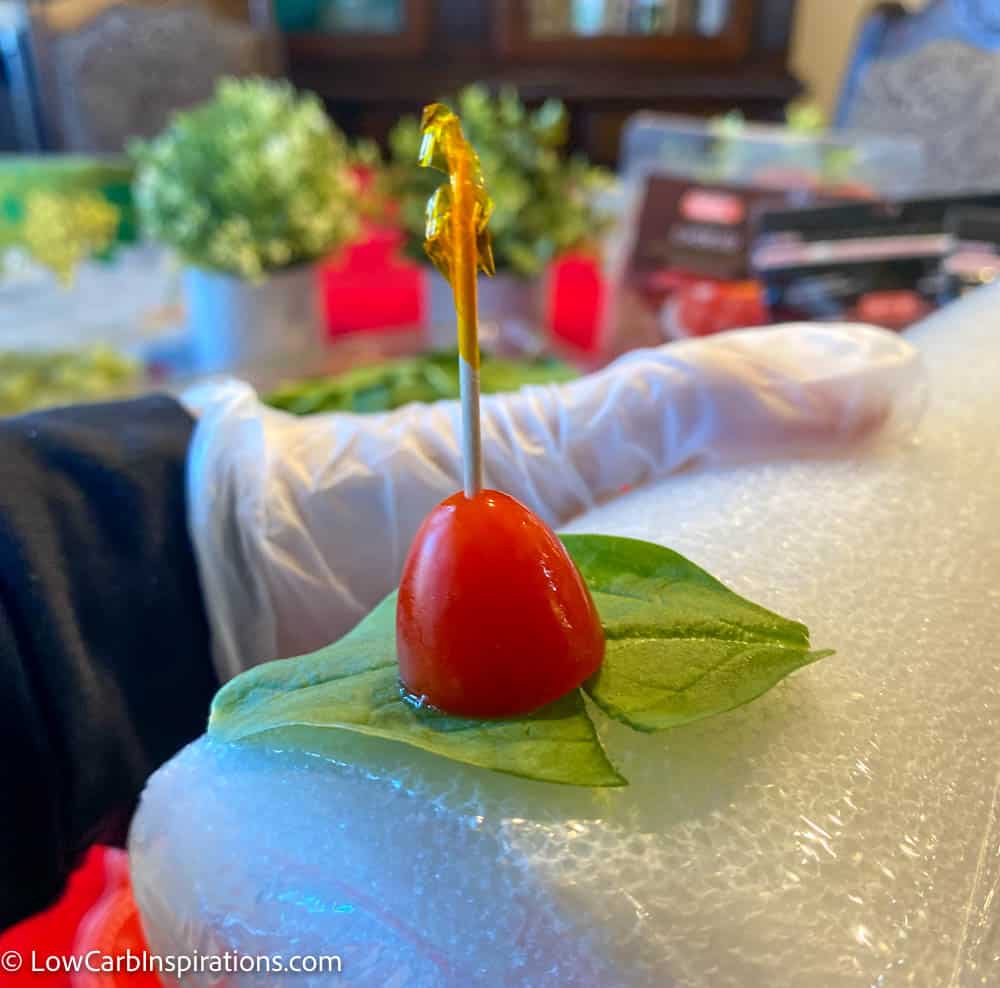
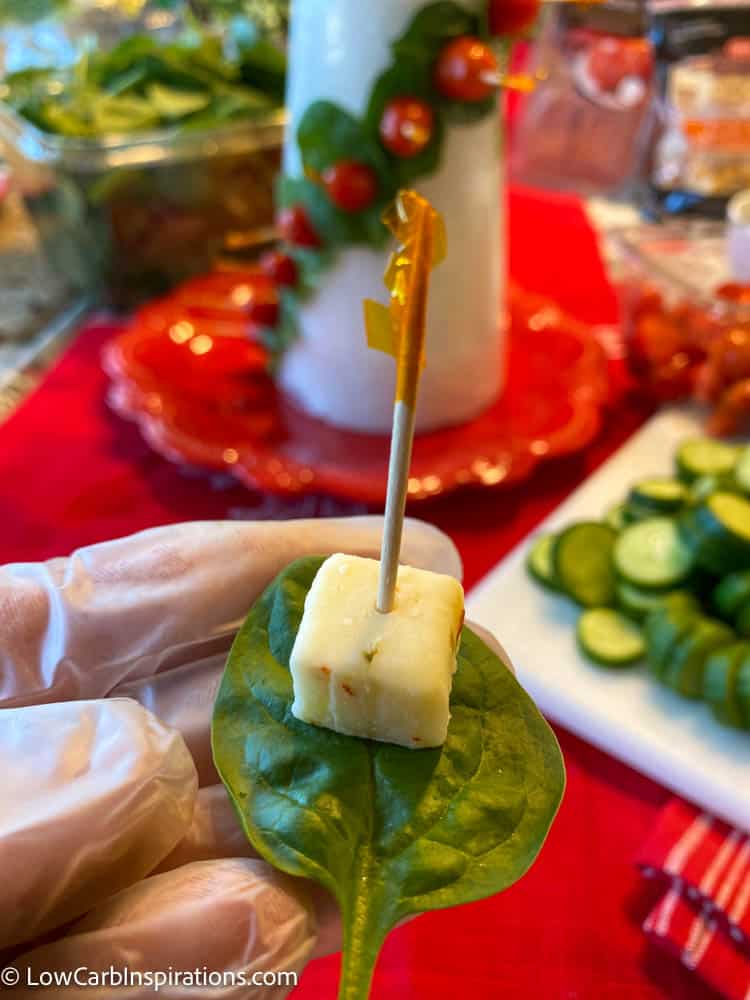
For every piece of produce you put on the tree you will place a piece of fresh spinach under it. This is what gives it a real tree look and it hides the color of the cone too. Be sure to tear off the stems of the spinach before applying it to the charcuterie tree.
You will assemble each item one at a time.
I started with the tomatoes since they were the biggest item.
I placed a piece of spinach in my hand then put the tomato on top of the spinach. I placed a toothpick in the tomato and through the spinach and pinned it on the cone at the bottom of the tree.
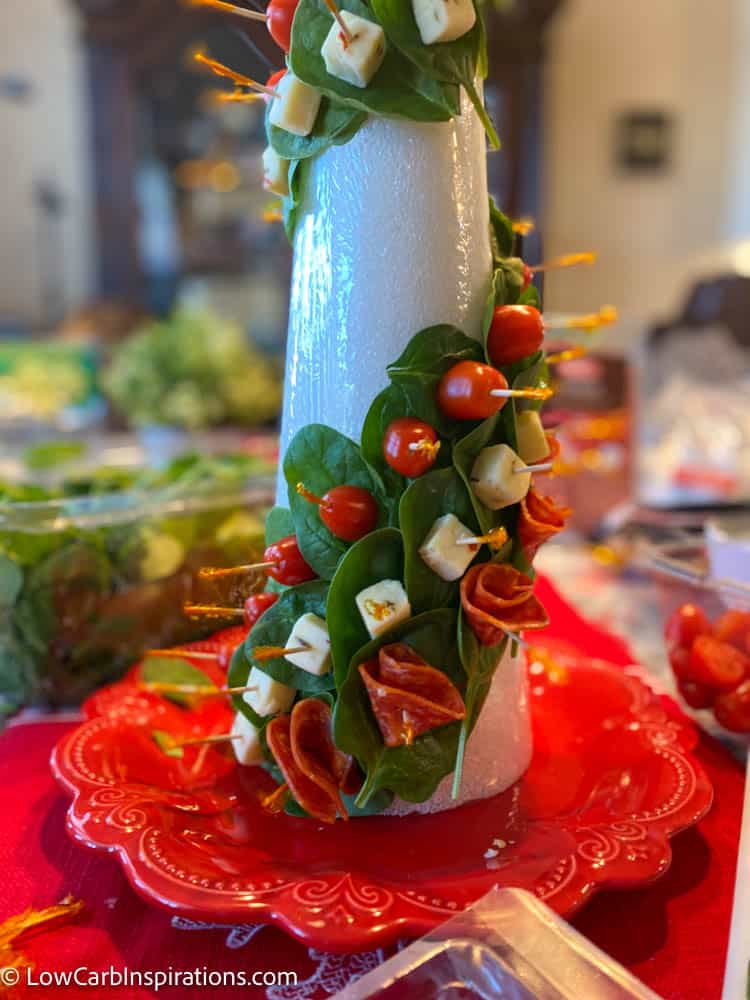
I continued placing more spinach with tomatoes around the tree just as you would decorate your real tree. I made it look like strings that wrap around the tree. You can decorate this tree any way you want! You can go up and down in straight lines or you don’t have to have any order at all.
I was careful to try and place different colors of food next to different colors to help it balance out the design. You will also want to keep this in mind when you are choosing the ingredients for your tree too. Notice the small tree we made as a lot of green from the spinach and the grapes. Then we added blueberries for a pop of color! You could have one savory charcuterie tree and one sweet charcuterie tree too!
Once the tree was completely full with all of our chosen foods, we added a cheese star at the very top of the big tree and we added a smaller cheese tree topper on the small tree. I used a block of cheese and a cookie cutter to make those shapes perfect. Then we used toothpicks to attach the cheese toppers to the top of each tree.
Here are a few process photos we took while making our Charcuterie Tree!


This is the best Christmas Appetizer idea I’ve seen for
all year. Absolutely the best!
This is the prettiest version of the tree I’ve seen. Thank you for the tutorial! I’ll be making this this year!
THANK YOU so much for this! I had such fun making this with my son for our church’s Christmas kids program fellowship afterwards… items I used more appreciated by adults but the WOW factor appreciated by all!! I adorned the bottom with a simple selection of cheese and crackers so all could enjoy, and what a beautiful offering! Merry Christmas!