Best Keto Blueberry Ice Cream Recipe
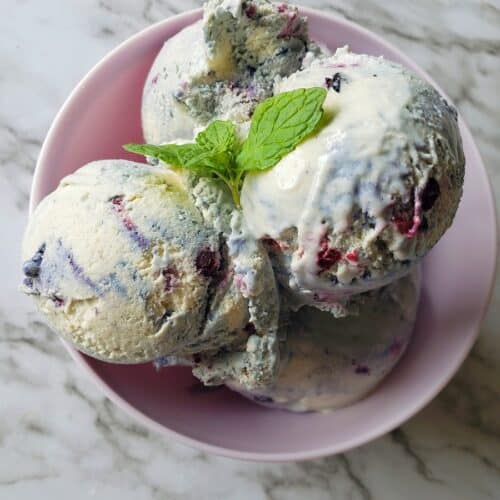
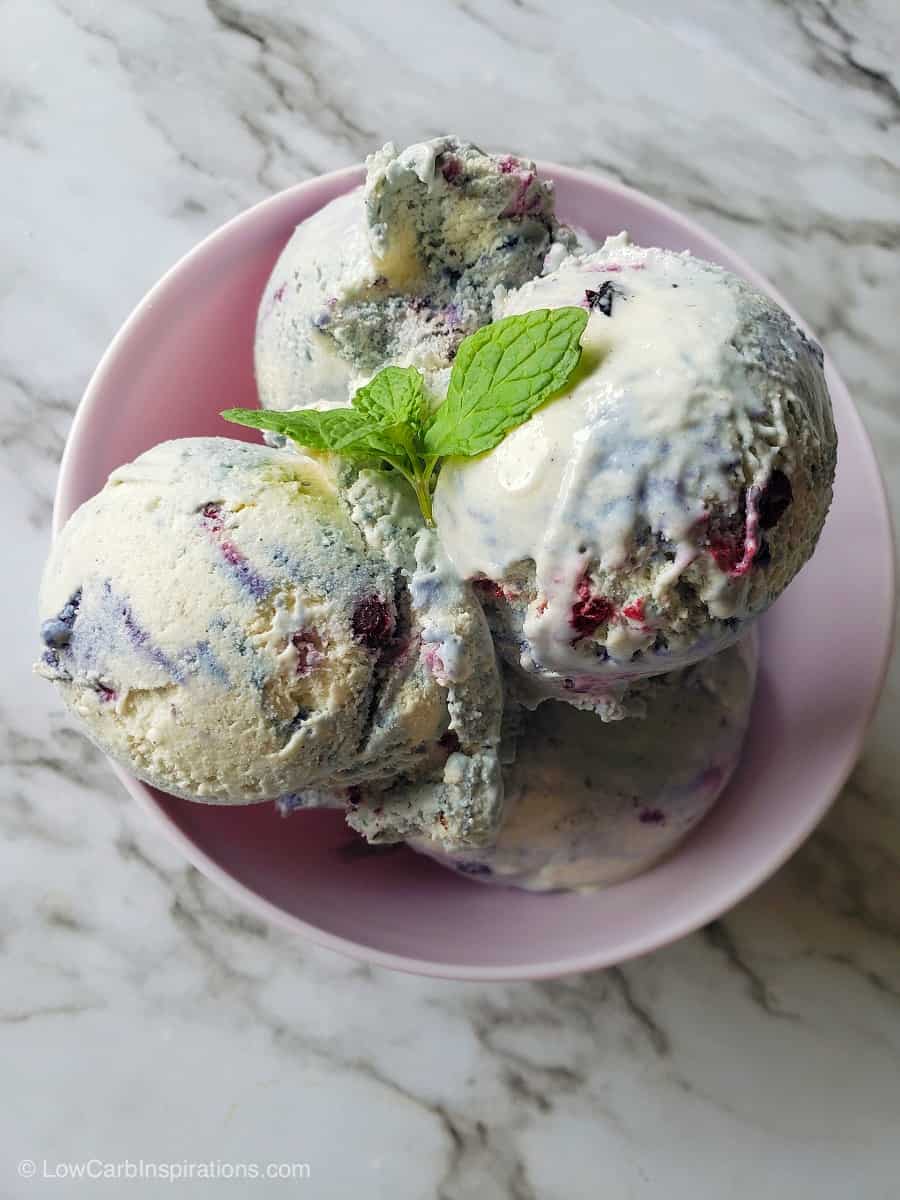
Best Keto Blueberry Ice Cream Recipe using an ice cream machine! If you don’t have an ice cream machine, I highly suggest you get one! There is no store bought keto ice cream that tastes as creamy and delightful as this recipe right here! It’s fantastic!
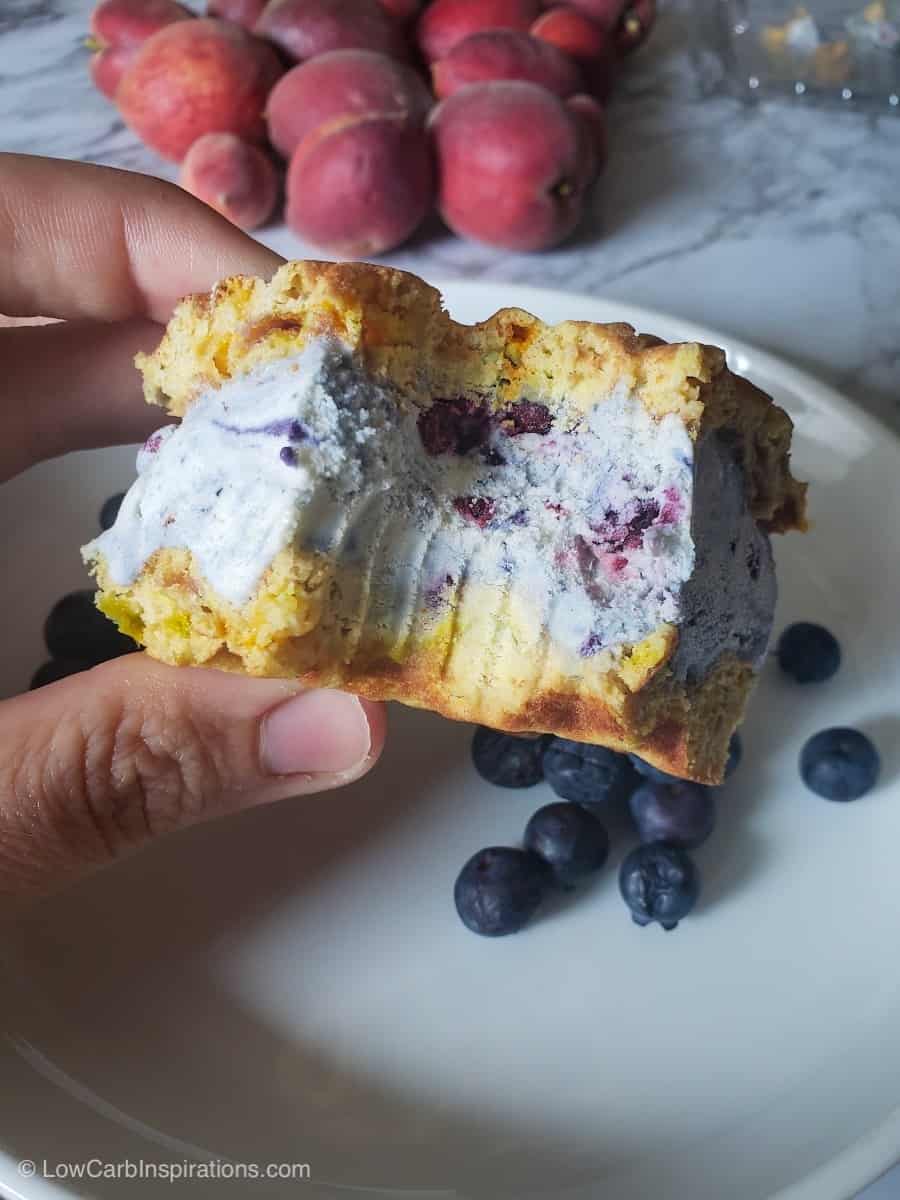
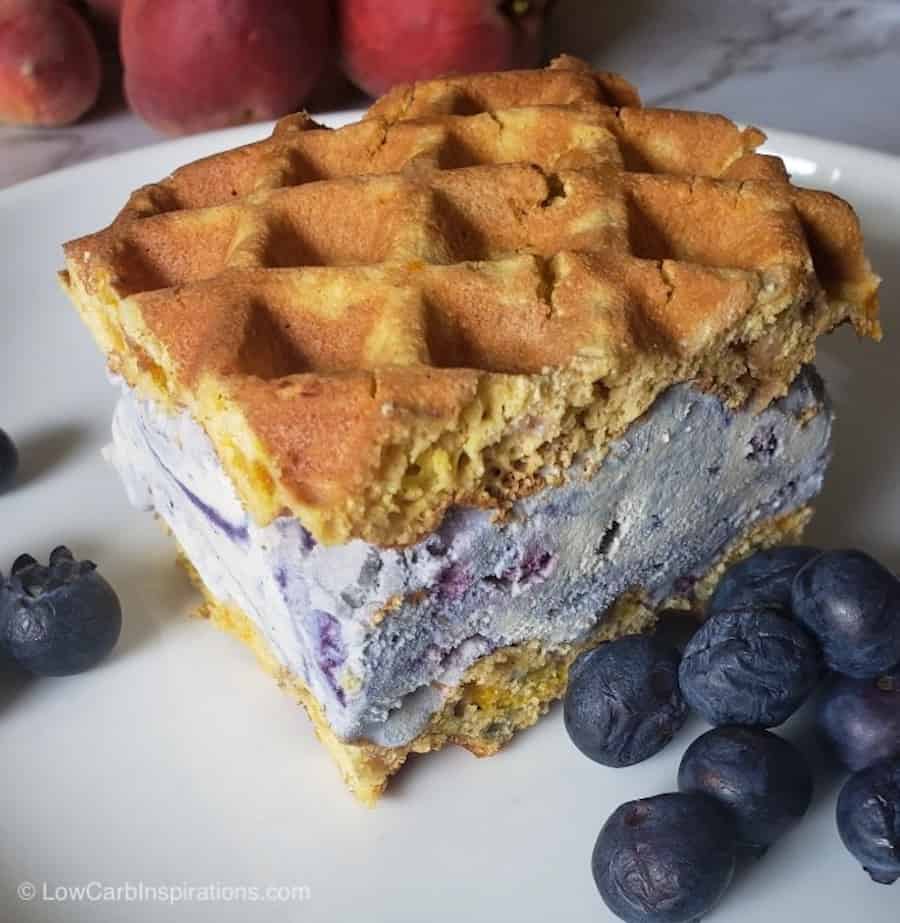
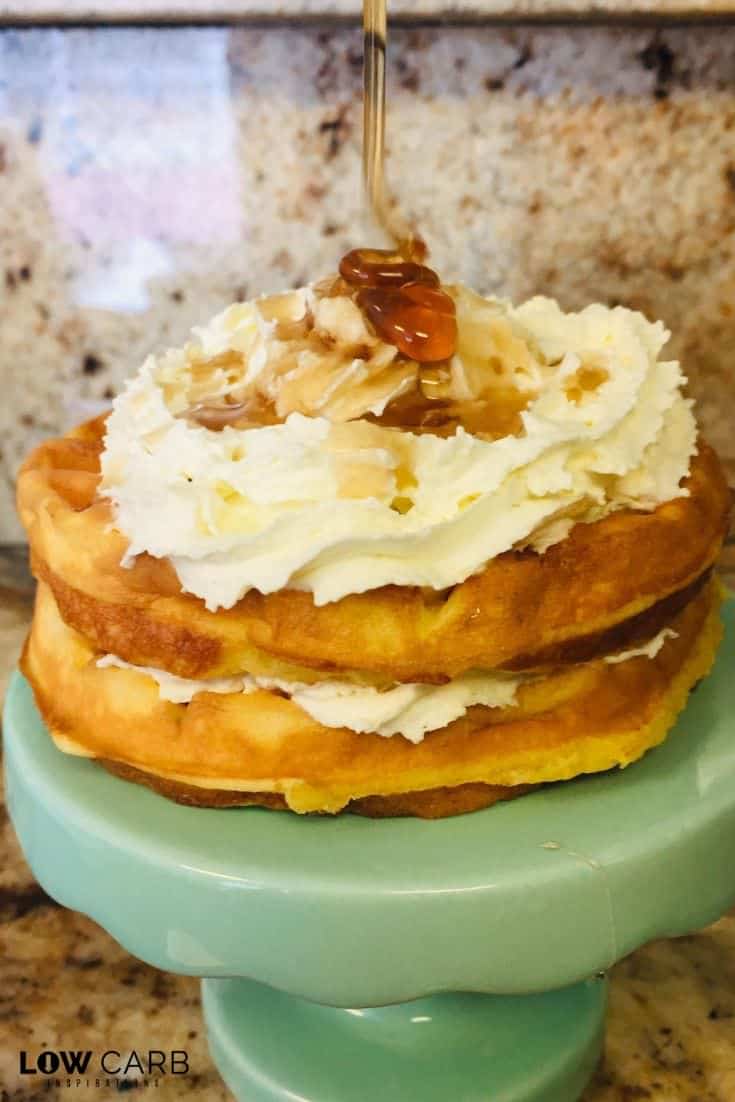
You can make Keto Blueberry Ice Cream Sandwiches too! We did! We used a sweet chaffle recipe for the sandwich part! You can find all of our Chaffle Recipes here.
We’ve tried the Keto Wonder Bread chaffle Recipe but we sweetened it up a bit. We added a tablespoon of keto sweetener to it! Perfect for an ice cream sandwich!
Have you ever tried blueberries and lemon together? OMG! We have a Keto lemon chaffle recipe that would make a wonderful ice cream sandwich too. Blueberry and lemon one of my favorite combos!
There’s one thing I really want to point out when you use this recipe. Be sure to freeze the inside container of your ice cream machine the night before. You don’t want your recipe to fail just because the ice cream machine bucket wasn’t cold enough.
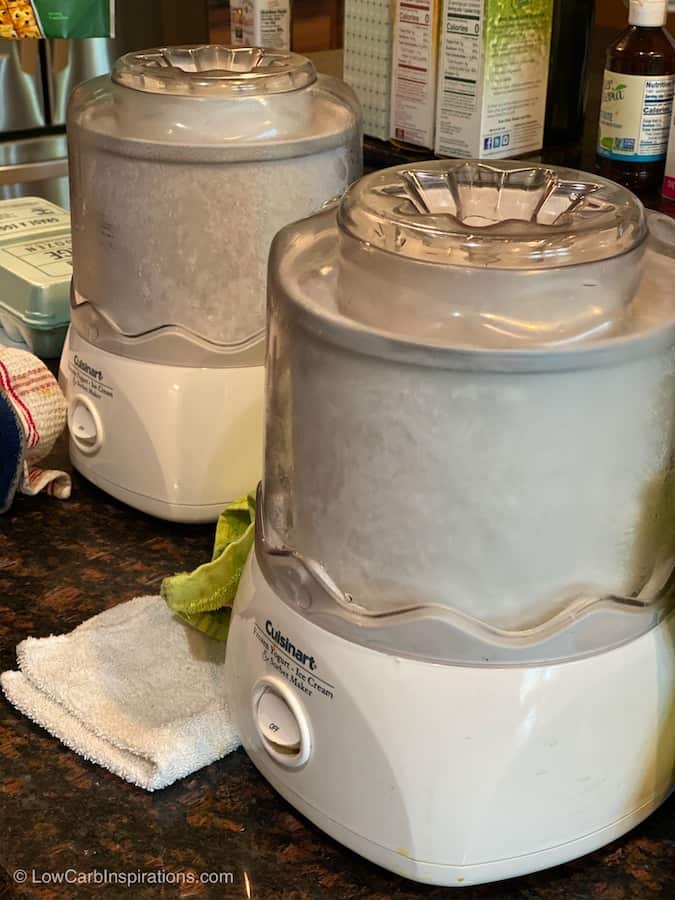
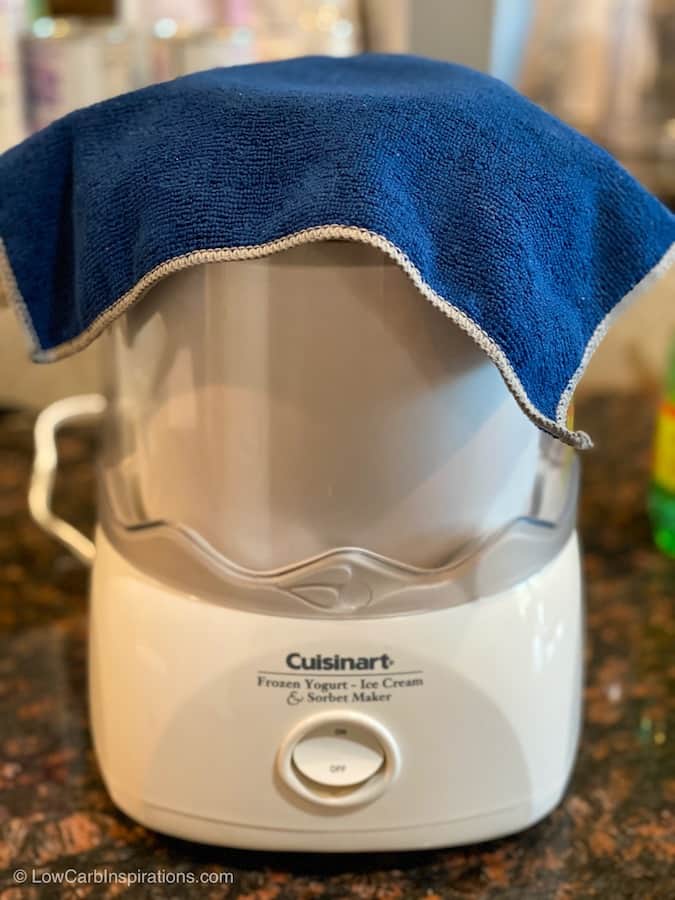
Here’s a tip for ya! While the ice cream is churning, place a towel over the opening to trap in the coolness. It really does help. We had two ice cream machines going at the same time when we made our ice cream!
Makes 4 to 6 servings.
Best Keto Blueberry Ice Cream Recipe ingredients
- 4 egg yolks
- 2 cups half and half cream
- 1/2 cup Allulose sweetener
- 1 tsp vanilla extract
- 1/4 tsp vanilla powder
- 1/4 tsp salt
- 1 tsp vegetable glycerin
- 1/2 cup blueberries (fresh or frozen)
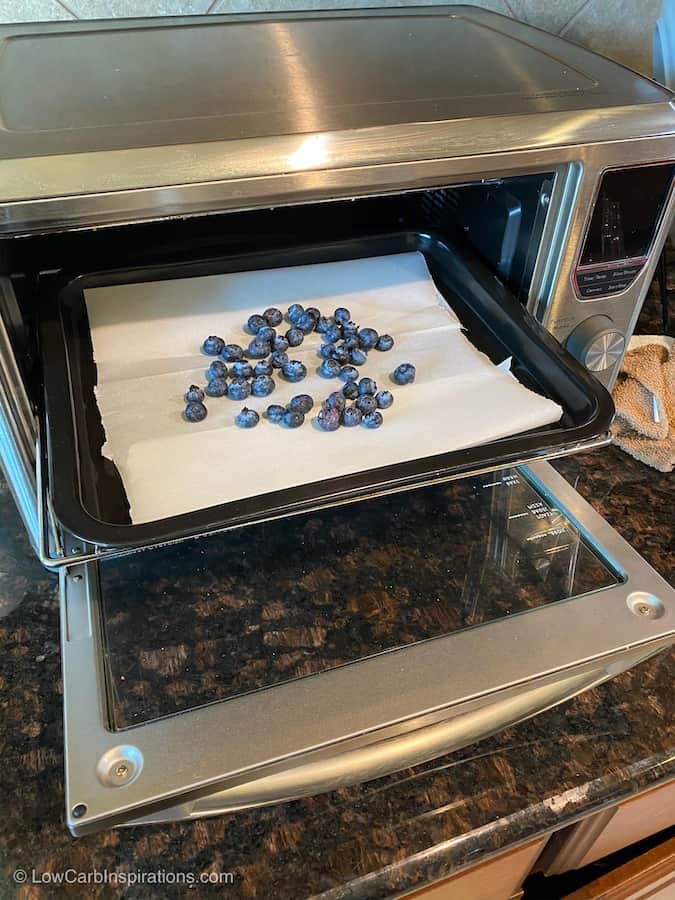
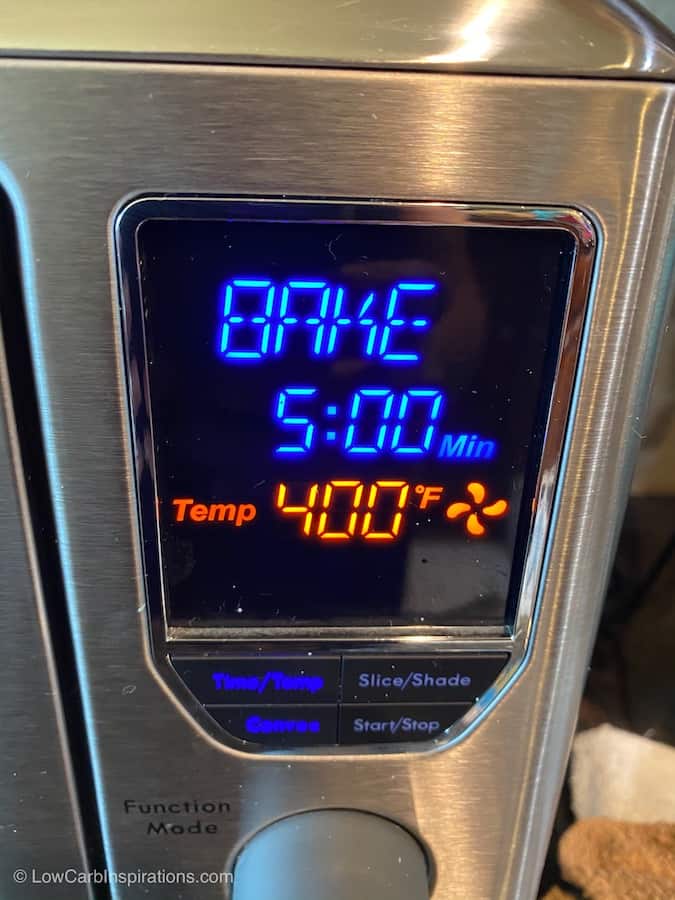
If you use fresh blueberries I highly suggest you roast them for a few minutes. We popped them in the toaster oven on a piece of parchment paper for 5 minutes at 400 degrees. It caramelizes them to bring out the maximum flavor!
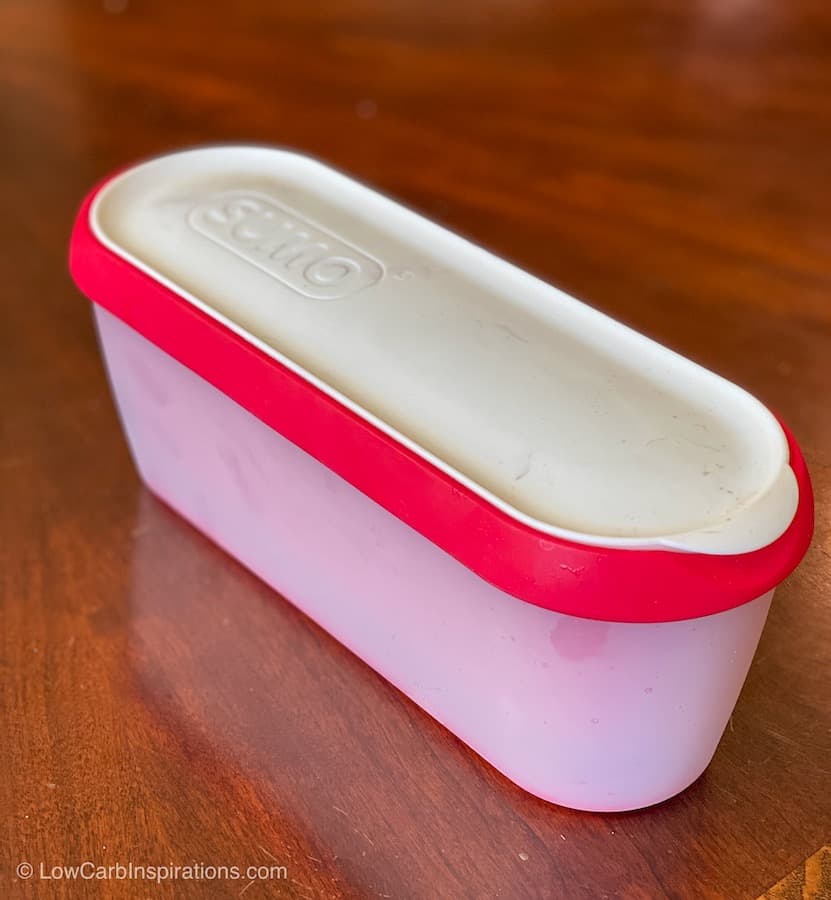
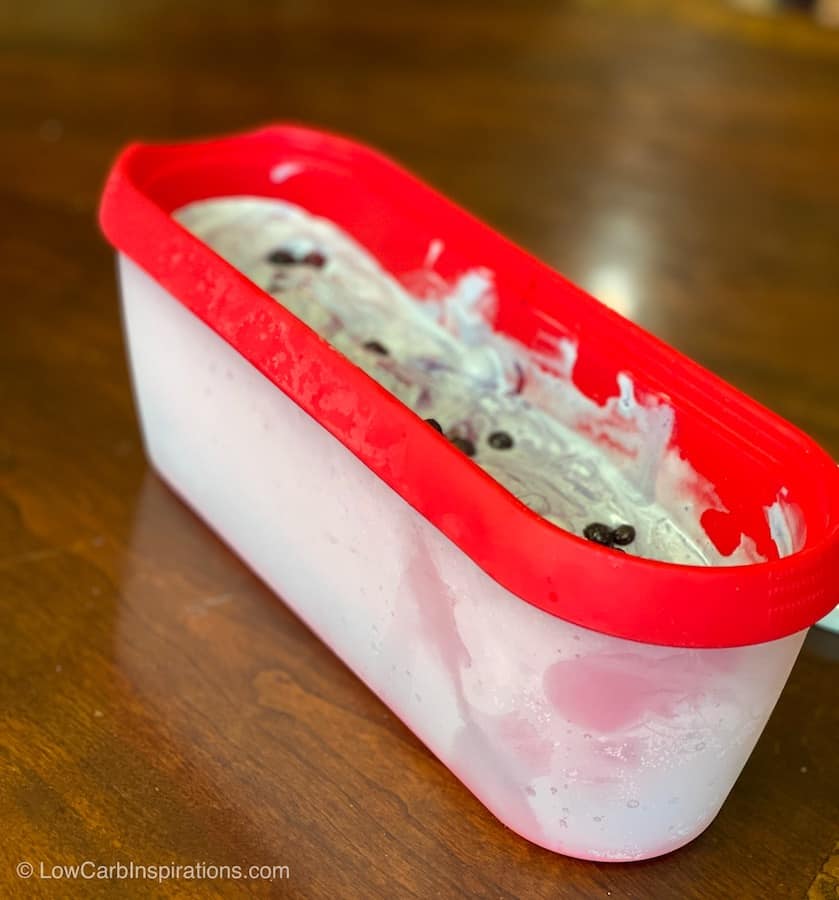
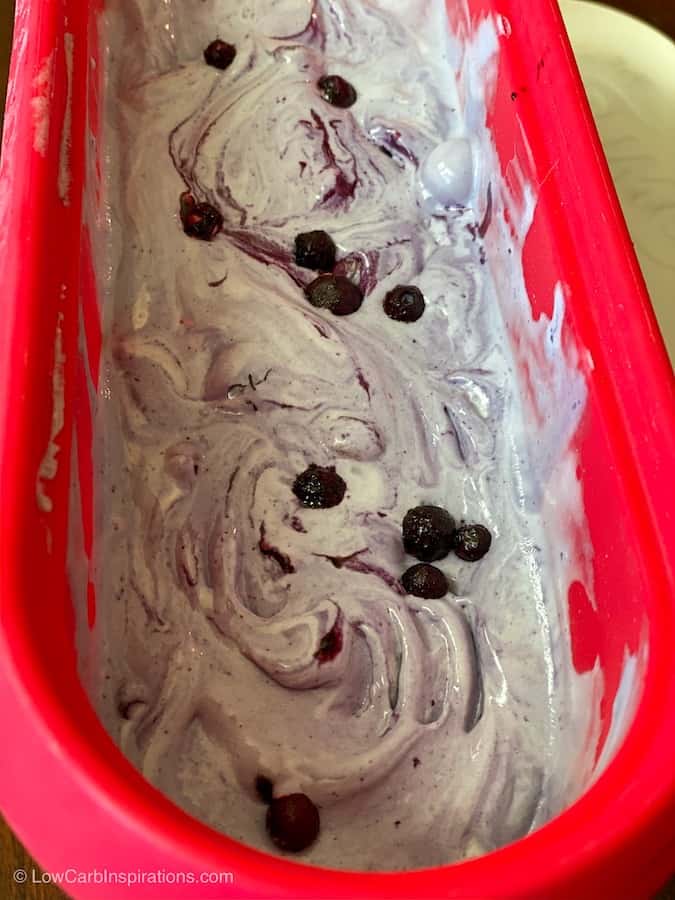
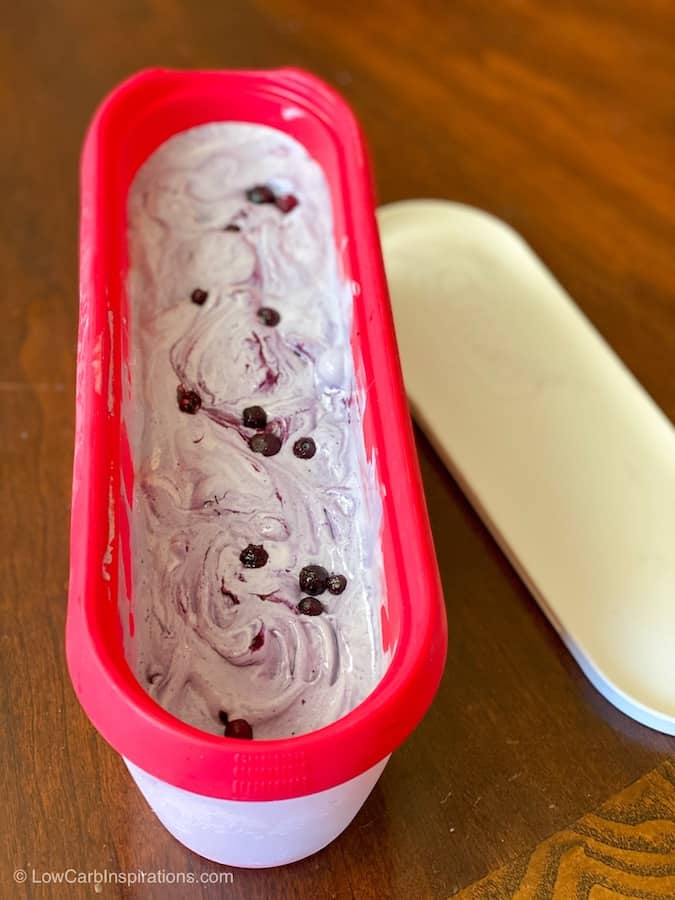
This is our favorite ice cream container! It’s easy to scoop ice cream out of and it fits nicely in the freezer but most importantly, it’s airtight and locks in the freshness!
Best Keto Blueberry Ice Cream Recipe instructions
- Make sure your ice cream machine bucket insert has been in the freezer ready to go for a minimum of 24 hours before you plan to make this ice cream recipe. Very important! The ice cream will not thicken if the insert is not fully cooled.
- Add 2 cups of half and half cream in a medium sauce pan and heat it over medium heat for about 3 to 4 minutes until it’s warmed completely. No need to stir it. You don’t want this to boil or simmer you just need it to be hot.
- In a separate medium size bowl, add the yolks, liquid vanilla, vanilla powder, and Allulose sweetener. Mix these ingredients until they fully combine together and set aside.
- Once the cream is hot you can turn off the temperature and remove it from the heat. Ladle out a small amount of the hot cream and slowly pour it into the egg yolk mixture while stirring it as you pour. You want to do this slow enough so it doesn’t cook the egg but tempers it. Tempering eggs is the gradual process of diluting the egg proteins and heating them to prevent them from curdling.
- Keep adding the hot cream mixture to the egg yolk mixture until all the ingredients are fully combined.
- Place this ice cream custard into a shallow dish and cover it with plastic wrap. Make sure the plastic wrap touches the cream mixture and seals it fully without any air in between the custard and the plastic wrap. This will prevent it from forming a film on the top of your ice cream custard.
- All this to completely cool in the refrigerator for about 2 hours.
- Remove the custard from the refrigerator after it has completely cooled.
- Pour the mixture into a blender and add the salt and the vegetable glycerin. Blend it on high for about 30 seconds. Just enough to combine those last ingredients.
- Remove the ice cream machine bucket insert from the freezer and insert it into your ice cream machine.
- Pour the vanilla bean ice cream mixture into the insert and turn on the machine so it starts to turn. I place a small towel over the top opening of the machine (as seen in the photos) to keep the ice cream as cold as possible so it thickens as quickly as it can.
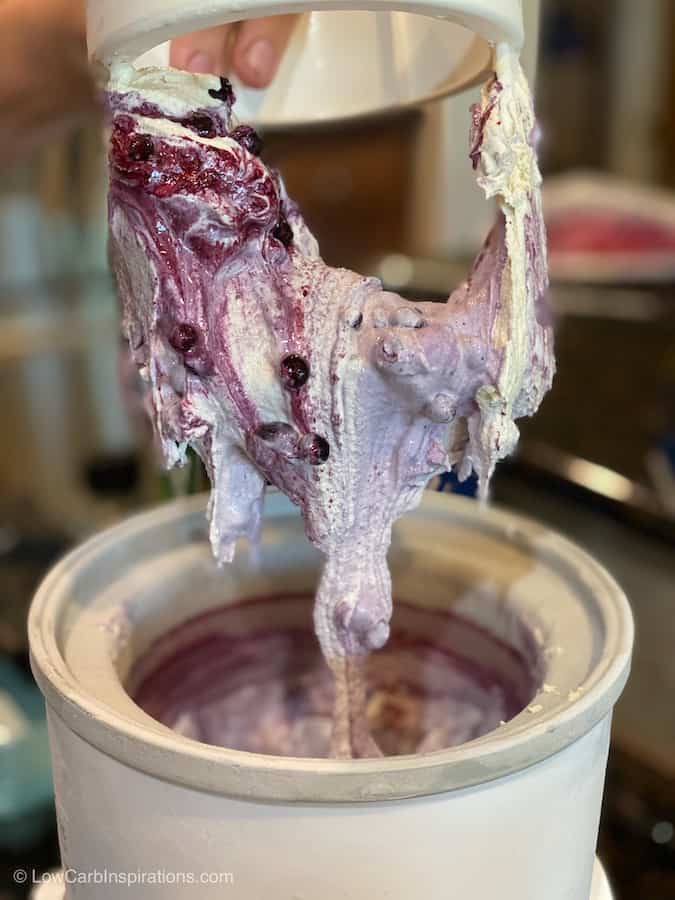
- After about 15 to 20 minutes you will see the ice cream has thickened! You will also start to hear the ice cream machine motor start to slow a bit as the ice cream gets thicker and thicker. When it reaches the consistency you like, you can serve it immediately or pour it into a freezer friendly air tight container for later.
Blueberries to prep for the ice cream
There are two different ways to prep the blueberries depending on whether you use fresh blueberries or frozen blueberries. I really to use frozen blueberries especially the frozen wild blueberries that you find at Costco. They taste amazing!
Fresh blueberries: You will need to roast the fresh blueberries on parchment paper in the oven or a toaster oven for 5 minutes at 400 degrees. This will remove a good amount of the liquid from the blueberries while caramelizing them. You want to remove the liquid and bring out the sweetness of the blueberries this way. By removing the liquid it won’t dilute your ice cream texture in anyway.
Frozen blueberries: Just before the ice cream is ready, you can place a 1/2 cup of frozen blueberries on a microwave safe plate and heat them for about 3o seconds to 1 minute. This is just enough to heat them to get most of the juices out of the blueberries. Use a large spoon and scoop the slightly heated blueberries into the ice cream machine and allow it to combined fully.
Recipe Notes:
It’s important to note that glycerin and allulose sweetener in this recipe really help to make this vanilla bean ice cream super creamy and scoop-able.
Use the egg whites reserved from this recipe for breakfast the next morning! You don’t want the egg whites to go to waste.
The vanilla powder in this recipe is absolutely delicious! It gives those little brown specks of vanilla sweetness in every bite! You will love it!
Best Keto Blueberry Ice Cream Recipe
Equipment
- Ice Cream Machine
- Airtight Ice Cream Storage Containers
Ingredients
- 4 egg yolks
- 2 cups half and half cream
- 1/2 cup Allulose sweetener
- 1 tsp vanilla extract
- 1/4 tsp vanilla powder
- 1/4 tsp salt
- 1 tsp vegetable glycerin
- 1/2 cup blueberries fresh or frozen
Instructions
- Make sure your ice cream machine bucket insert has been in the freezer ready to go for a minimum of 24 hours before you plan to make this ice cream recipe. Very important! The ice cream will not thicken if the insert is not fully cooled.
- Add 2 cups of half and half cream in a medium sauce pan and heat it over medium heat for about 3 to 4 minutes until it's warmed completely. No need to stir it. You don't want this to boil or simmer you just need it to be hot.
- In a separate medium size bowl, add the yolks, liquid vanilla, vanilla powder, and Allulose sweetener. Mix these ingredients until they fully combine together and set aside.
- Once the cream is hot you can turn off the temperature and remove it from the heat. Ladle out a small amount of the hot cream and slowly pour it into the egg yolk mixture while stirring it as you pour. You want to do this slow enough so it doesn't cook the egg but tempers it. Tempering eggs is the gradual process of diluting the egg proteins and heating them to prevent them from curdling.
- Keep adding the hot cream mixture to the egg yolk mixture until all the ingredients are fully combined.
- Place this ice cream custard into a shallow dish and cover it with plastic wrap. Make sure the plastic wrap touches the cream mixture and seals it fully without any air in between the custard and the plastic wrap. This will prevent it from forming a film on the top of your ice cream custard.
- All this to completely cool in the refrigerator for about 2 hours.
- Remove the custard from the refrigerator after it has completely cooled.
- Pour the mixture into a blender and add the salt and the vegetable glycerin. Blend it on high for about 30 seconds. Just enough to combine those last ingredients.
- Remove the ice cream machine bucket insert from the freezer and insert it into your ice cream machine.
- Pour the vanilla bean ice cream mixture into the insert and turn on the machine so it starts to turn. I place a small towel over the top opening of the machine (as seen in the photos) to keep the ice cream as cold as possible so it thickens as quickly as it can.
- After about 15 to 20 minutes you will see the ice cream has thickened! You will also start to hear the ice cream machine motor start to slow a bit as the ice cream gets thicker and thicker. When it reaches the consistency you like, you can serve it immediately or pour it into a freezer friendly air tight container for later.
- Blueberries to prep for the ice cream
- There are two different ways to prep the blueberries depending on whether you use fresh blueberries or frozen blueberries. I really to use frozen blueberries especially the frozen wild blueberries that you find at Costco. They taste amazing!
- Fresh blueberries: You will need to roast the fresh blueberries on parchment paper in the oven or a toaster oven for 5 minutes at 400 degrees. This will remove a good amount of the liquid from the blueberries while caramelizing them. You want to remove the liquid and bring out the sweetness of the blueberries this way. By removing the liquid it won't dilute your ice cream texture in anyway.
- Frozen blueberries: Just before the ice cream is ready, you can place a 1/2 cup of frozen blueberries on a microwave safe plate and heat them for about 3o seconds to 1 minute. This is just enough to heat them to get most of the juices out of the blueberries. Use a large spoon and scoop the slightly heated blueberries into the ice cream machine and allow it to combined fully.



This is SO yummy and smooth. I missed having actual ice “cream” instead of flavored ice since starting my keto/low carb journey.
Very Yummy icecream but I don’t understand why Chronometer counts this at 37 carbs per serving! Yours says that its 6! Yikes! Thats quite a difference. Do you know what’s wrong?
Cronometer counts this up as 37 carbs per serving. Thats not Keto! Yours says only 6 carbs. Whats up with that?